课时六 Lagent & AgentLego 智能体应用搭建
飞书地址
算力平台
1. 提交的作业结果
作业要求地址
1.1 基础作业
1.1.1 完成 Lagent Web Demo 使用,并在作业中上传截图。
复现笔记
1.1.2 完成 AgentLego 直接使用部分,并在作业中上传截图。

复现笔记
1.2 进阶作业
1.2.1 完成 AgentLego WebUI 使用,并在作业中上传截图。
复现文档
1.2.2 使用 Lagent 或 AgentLego 实现自定义工具并完成调用,并在作业中上传截图。
复现文档
2. 文档复现
文档地址
2.1 开发环境设置
在创建开发机界面选择镜像为 Cuda12.2-conda,并选择 GPU 为30% A100。
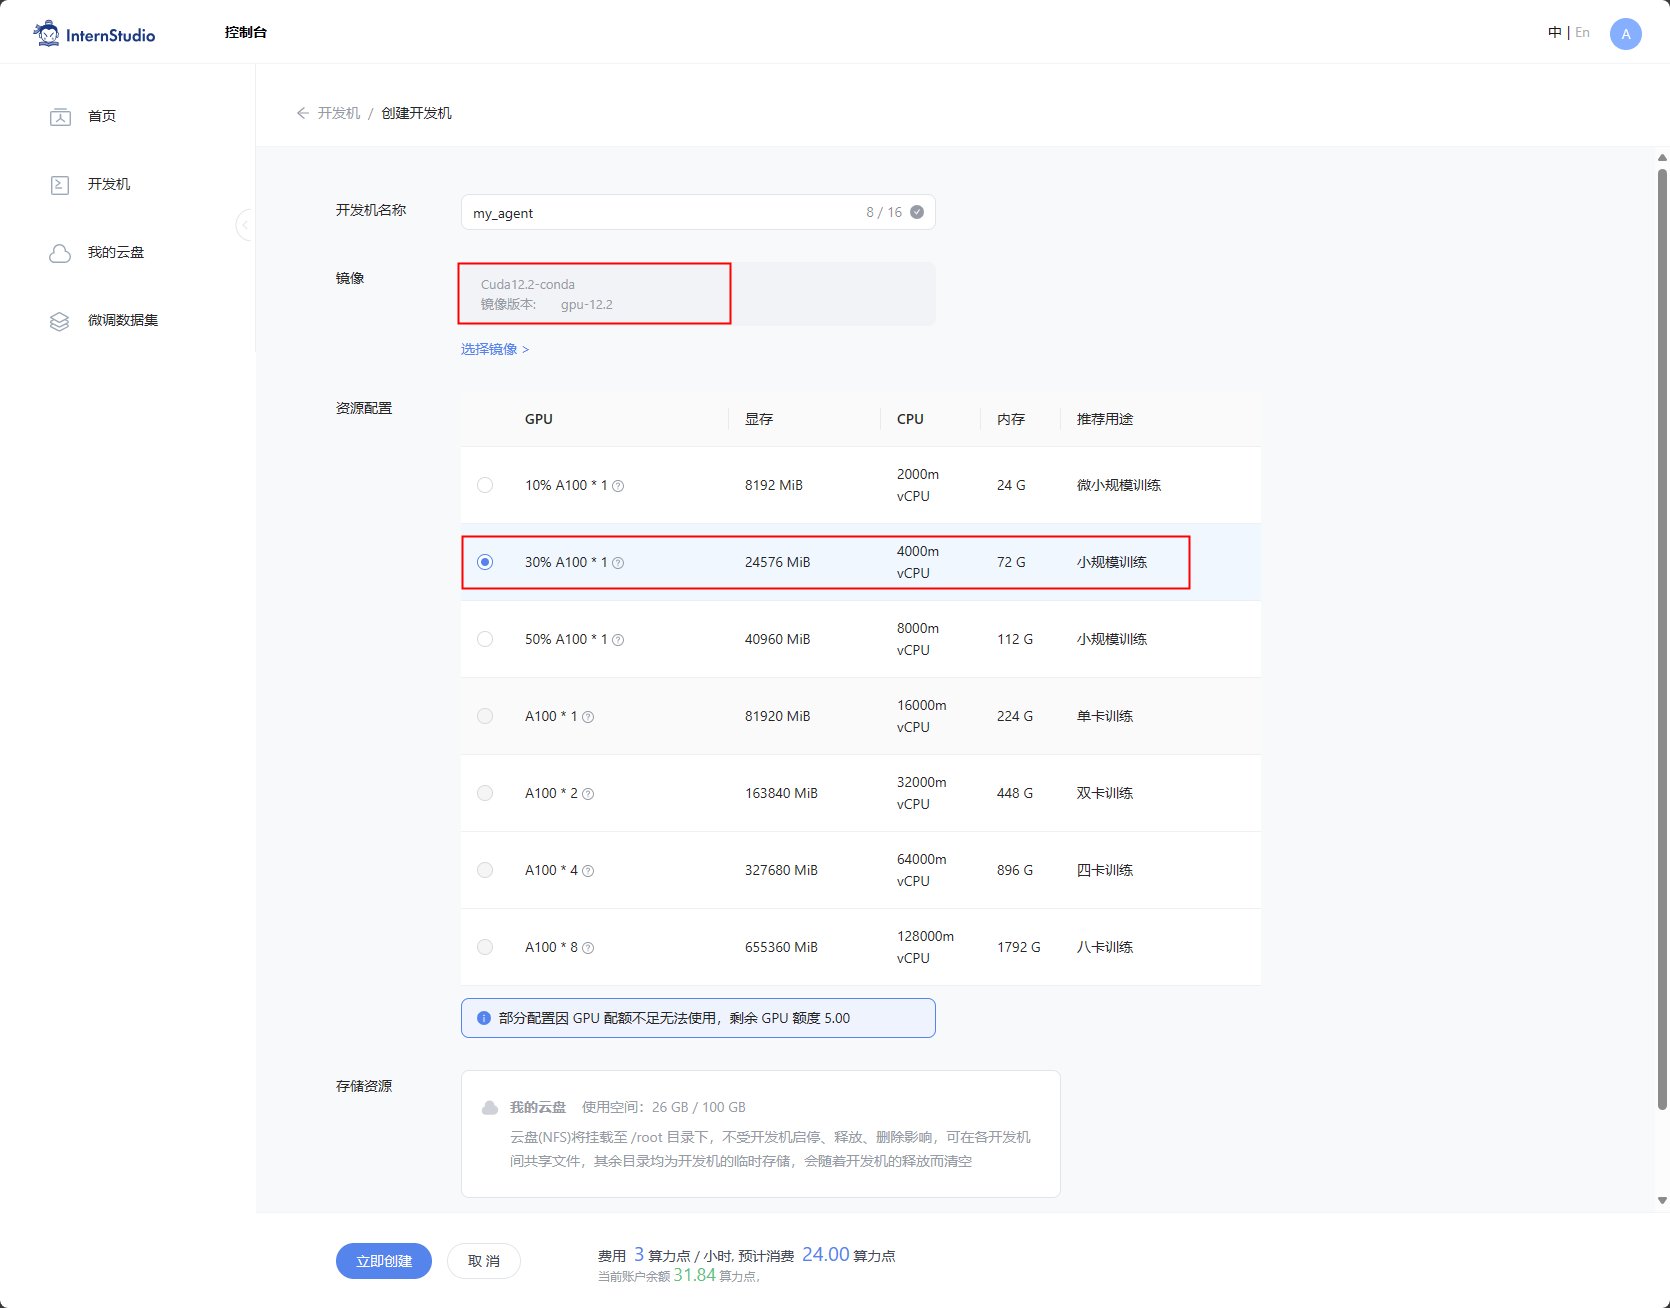
同时满足 Lagent 和 AgentLego 运行时所需依赖。
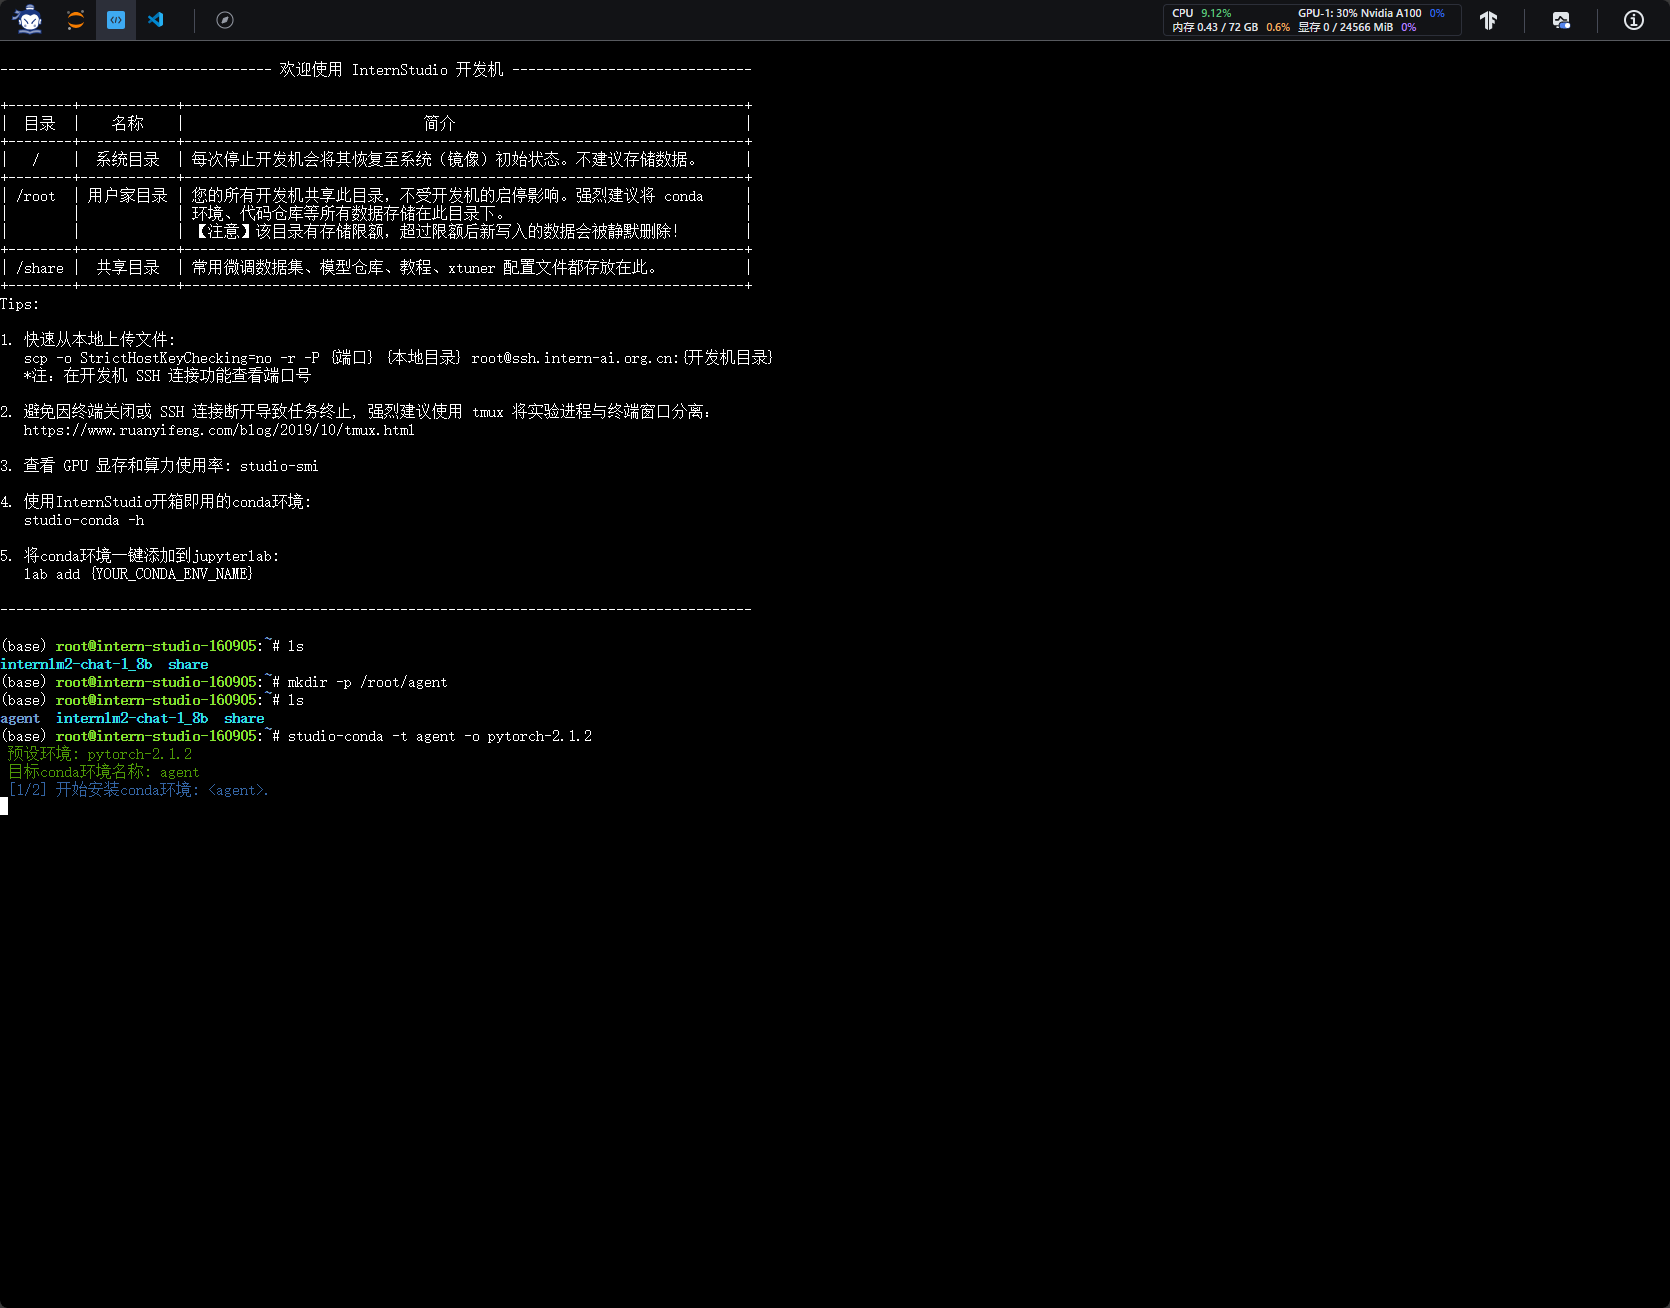
#创建一个用于存放 Agent 相关文件的目录
mkdir -p /root/agent
studio-conda -t agent -o pytorch-2.1.2

cd /root/agent
conda activate agent
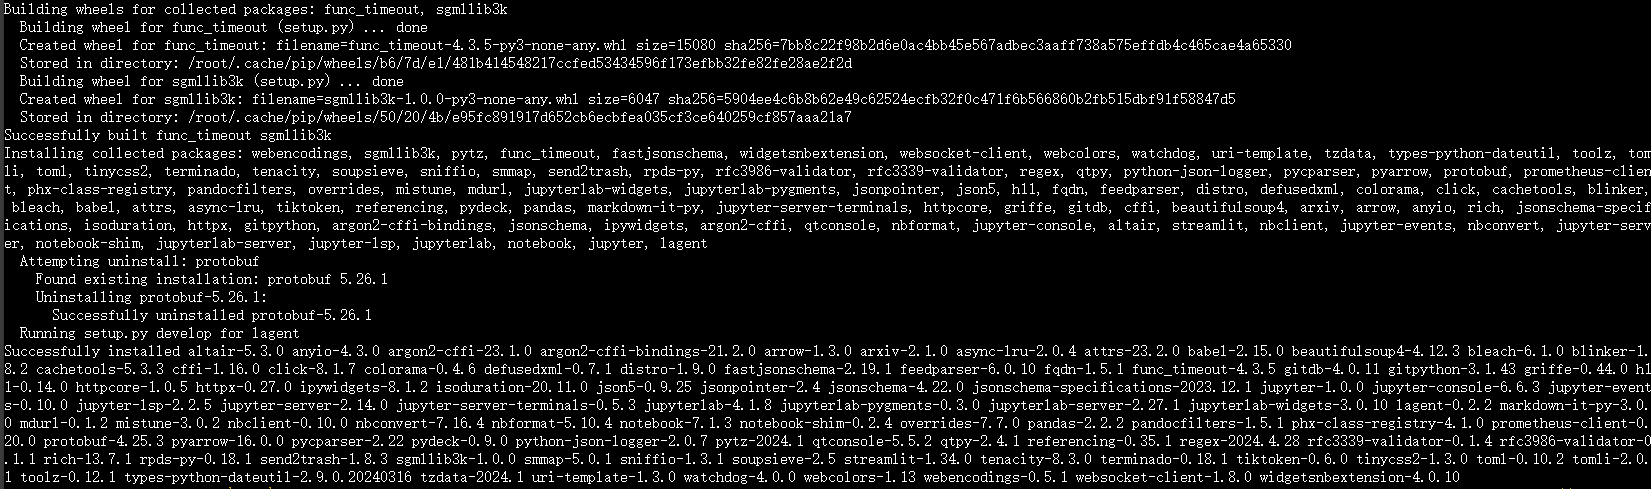
git clone https://gitee.com/internlm/lagent.git
cd lagent && git checkout 581d9fb && pip install -e . && cd ..
git clone https://gitee.com/internlm/agentlego.git
cd agentlego && git checkout 7769e0d && pip install -e . && cd ..

conda activate agent
pip install lmdeploy==0.3.0

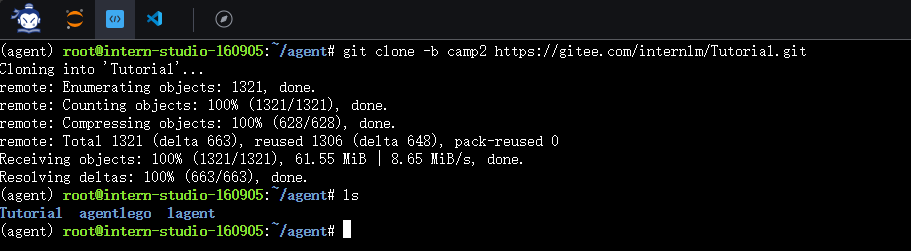
cd /root/agent
git clone -b camp2 https://gitee.com/internlm/Tutorial.git
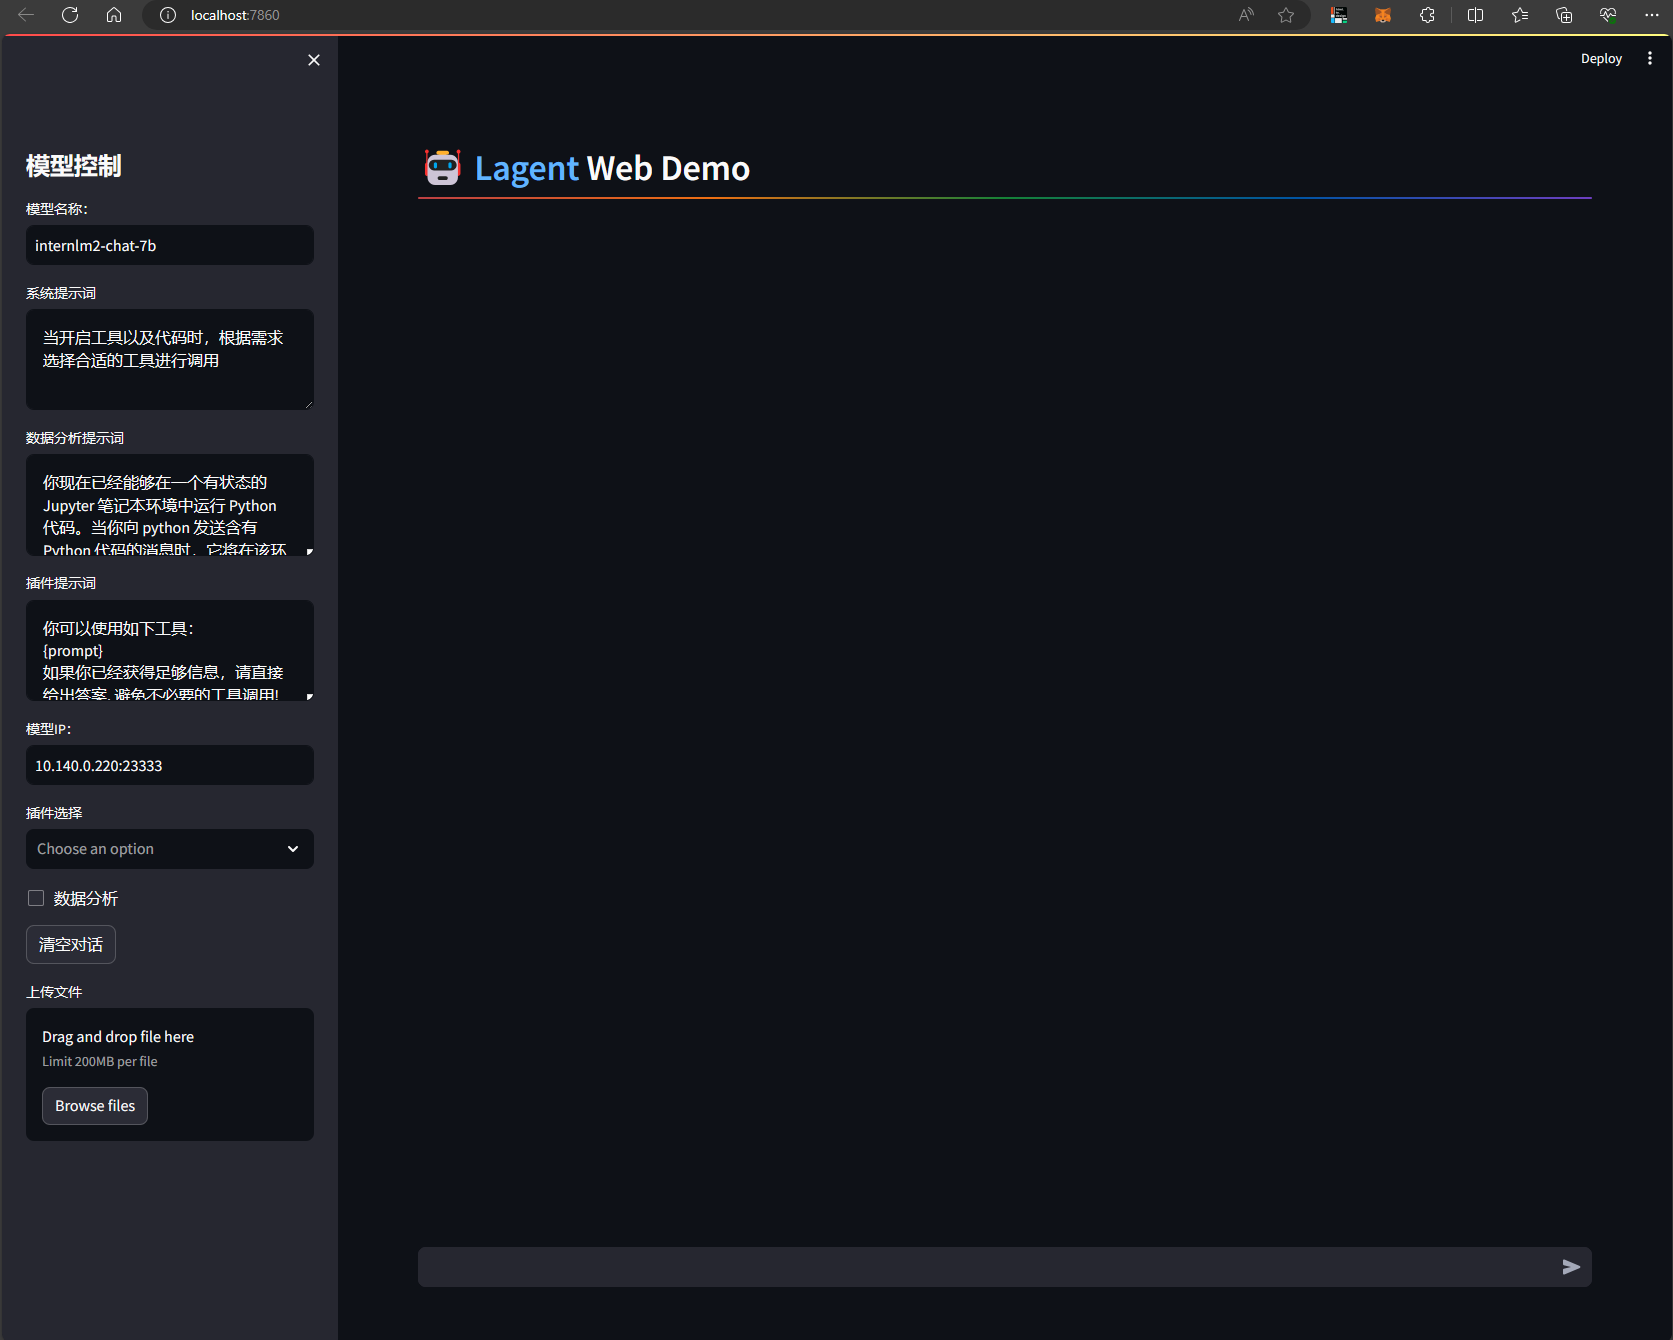
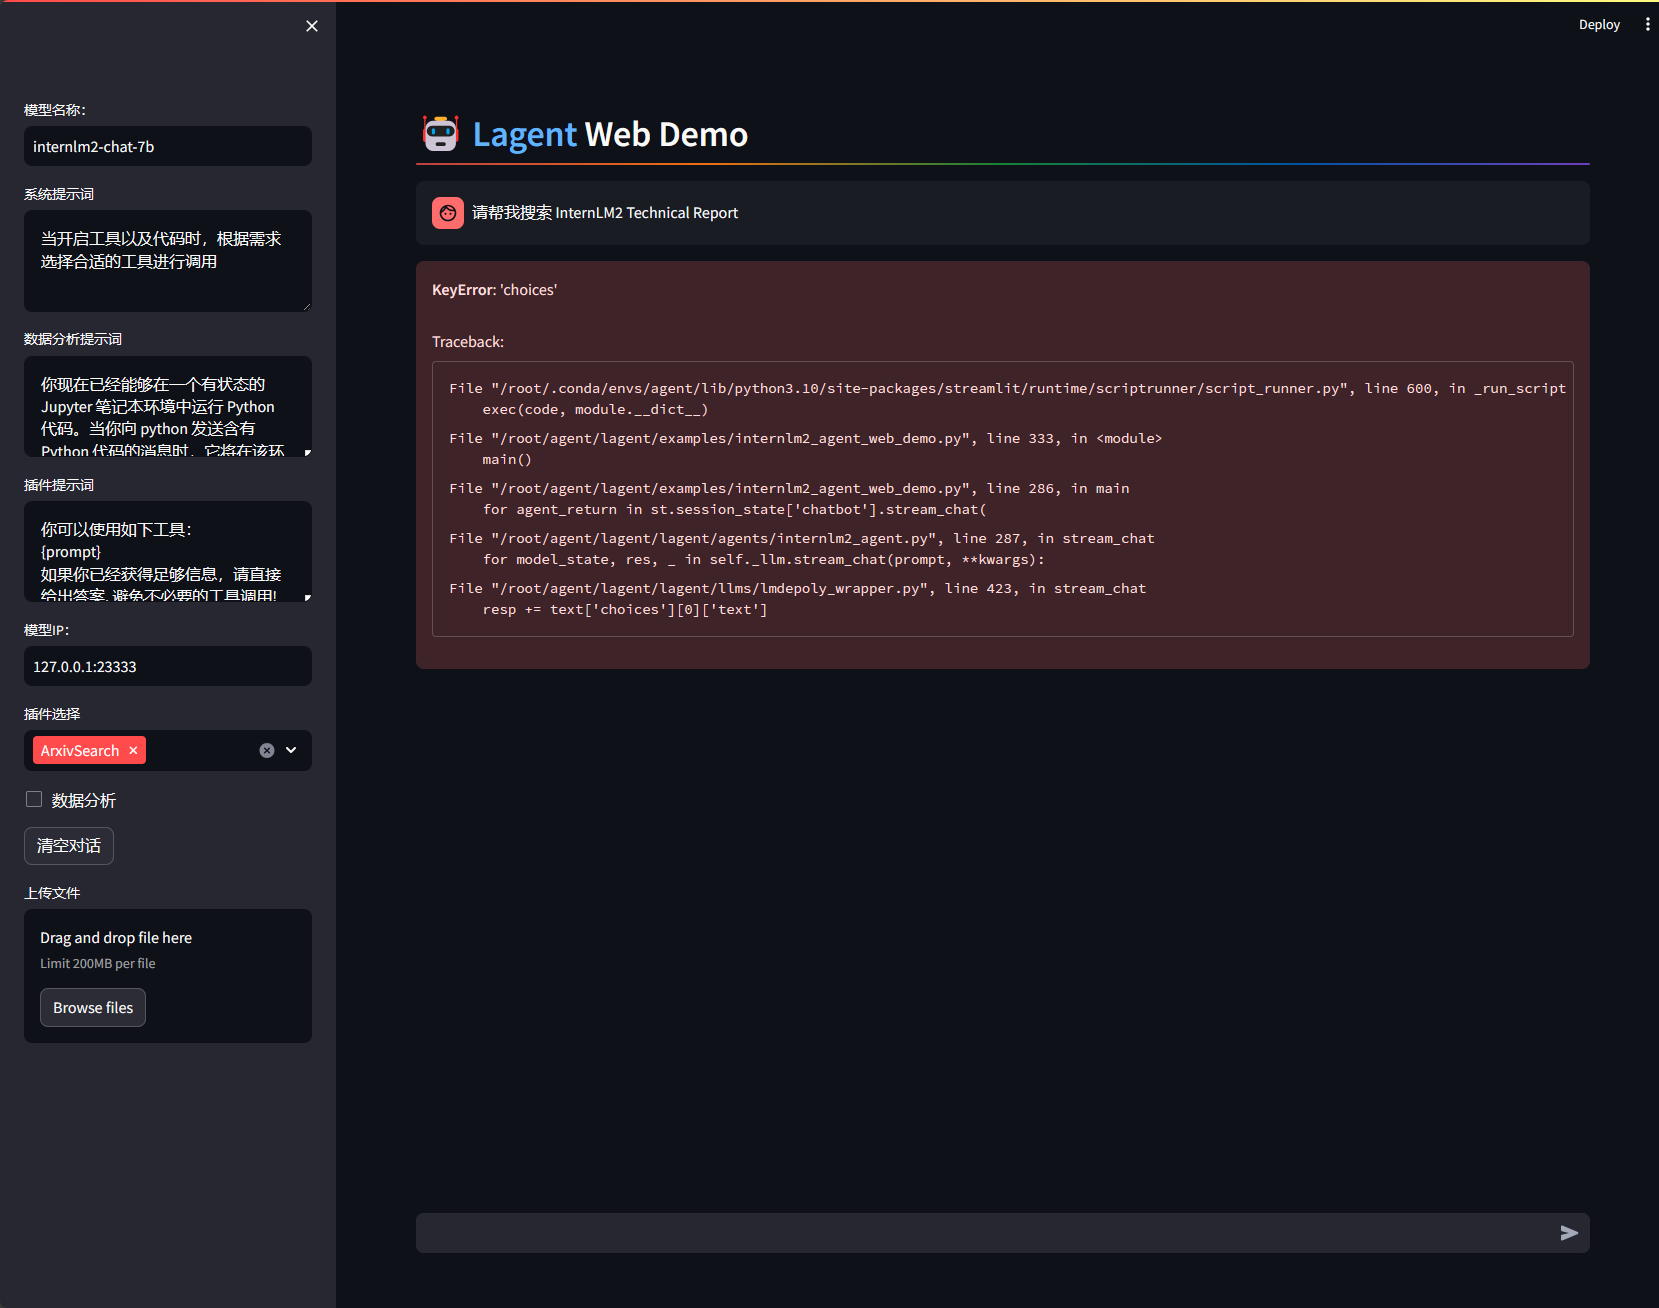
2.2 Lagent Web Demo
文档地址
2.2.1 部署服务
conda activate agent
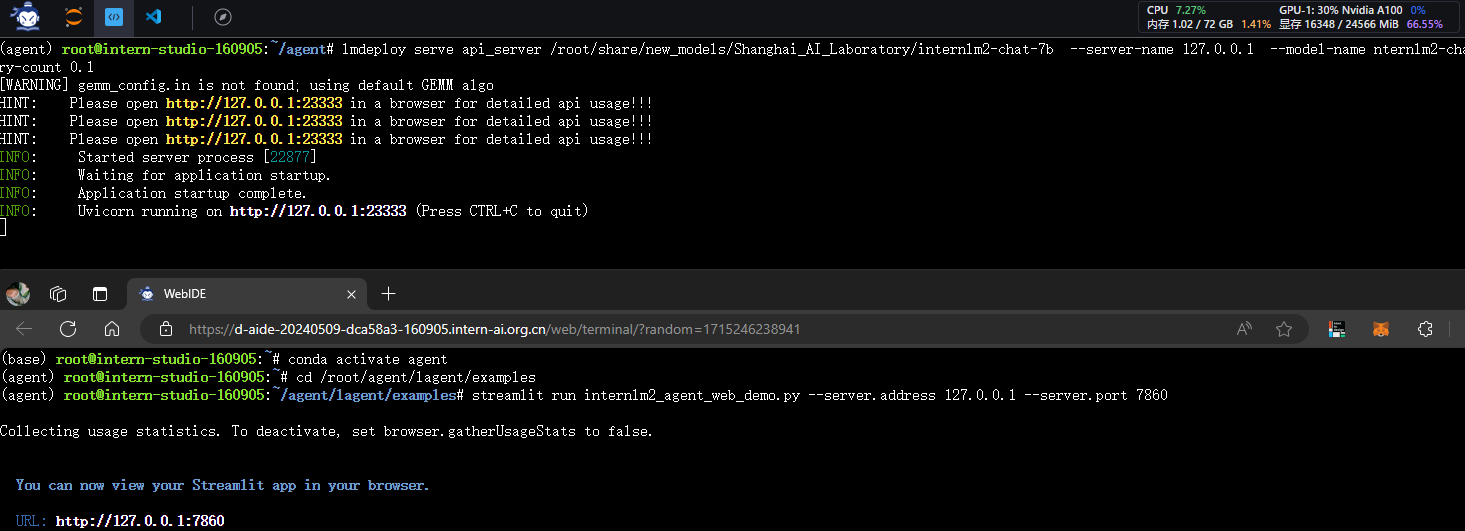
lmdeploy serve api_server /root/share/new_models/Shanghai_AI_Laboratory/internlm2-chat-7b --server-name 127.0.0.1 --model-name nternlm2-chat-7b --cache-max-entry-count 0.1

2.2.2 启动web案例
conda activate agent
cd /root/agent/lagent/examples
streamlit run internlm2_agent_web_demo.py --server.address 127.0.0.1 --server.port 7860
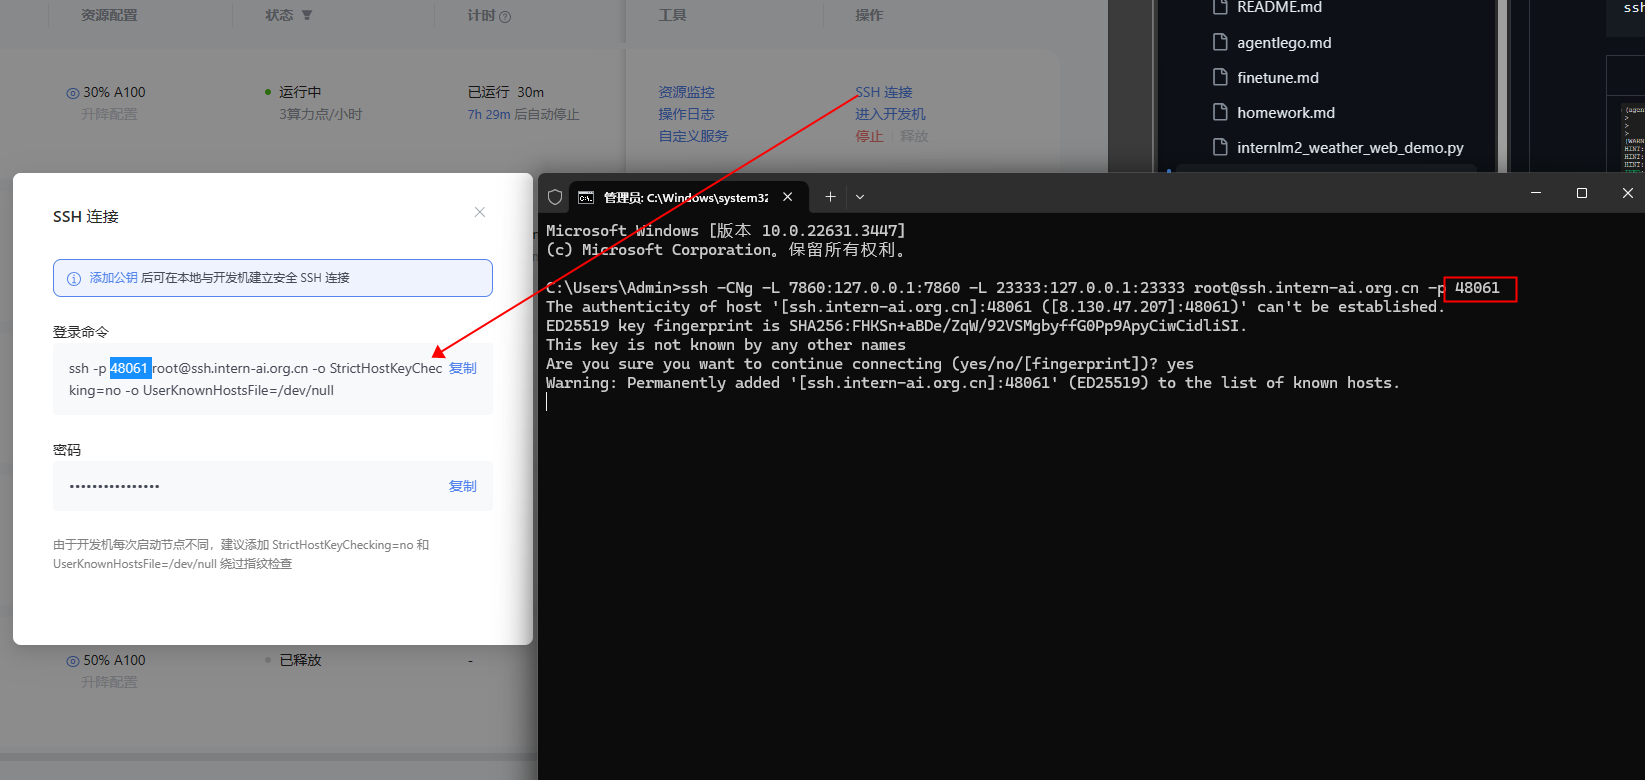
2.2.3 本地访问
ssh -CNg -L 7860:127.0.0.1:7860 -L 23333:127.0.0.1:23333 root@ssh.intern-ai.org.cn -p 48061
2.3 直接使用 AgentLego
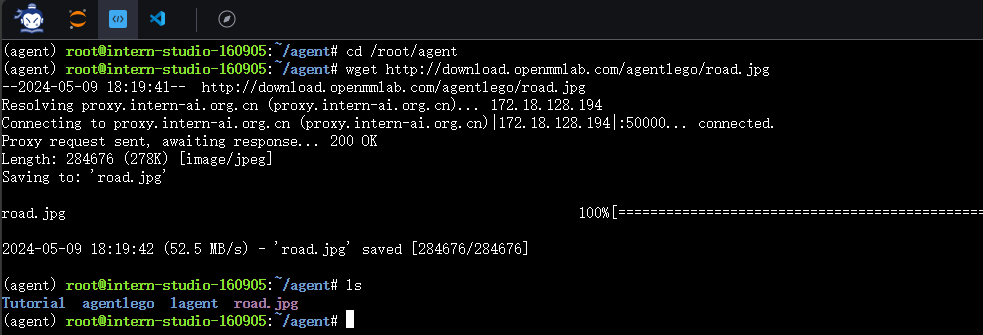
2.3.1 文件获取
cd /root/agent
wget http://download.openmmlab.com/agentlego/road.jpg
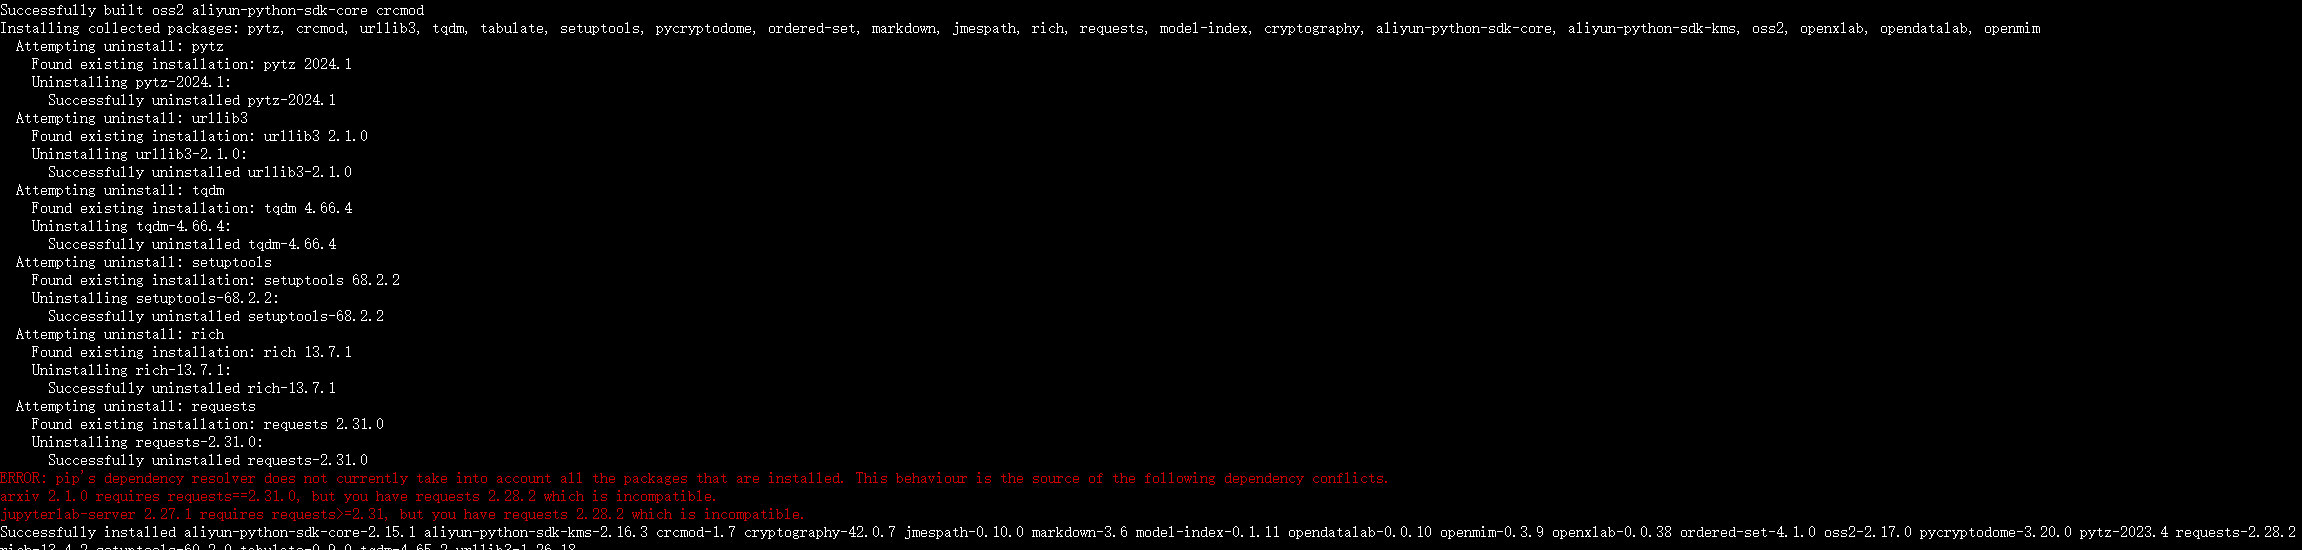
2.3.2 环境依赖
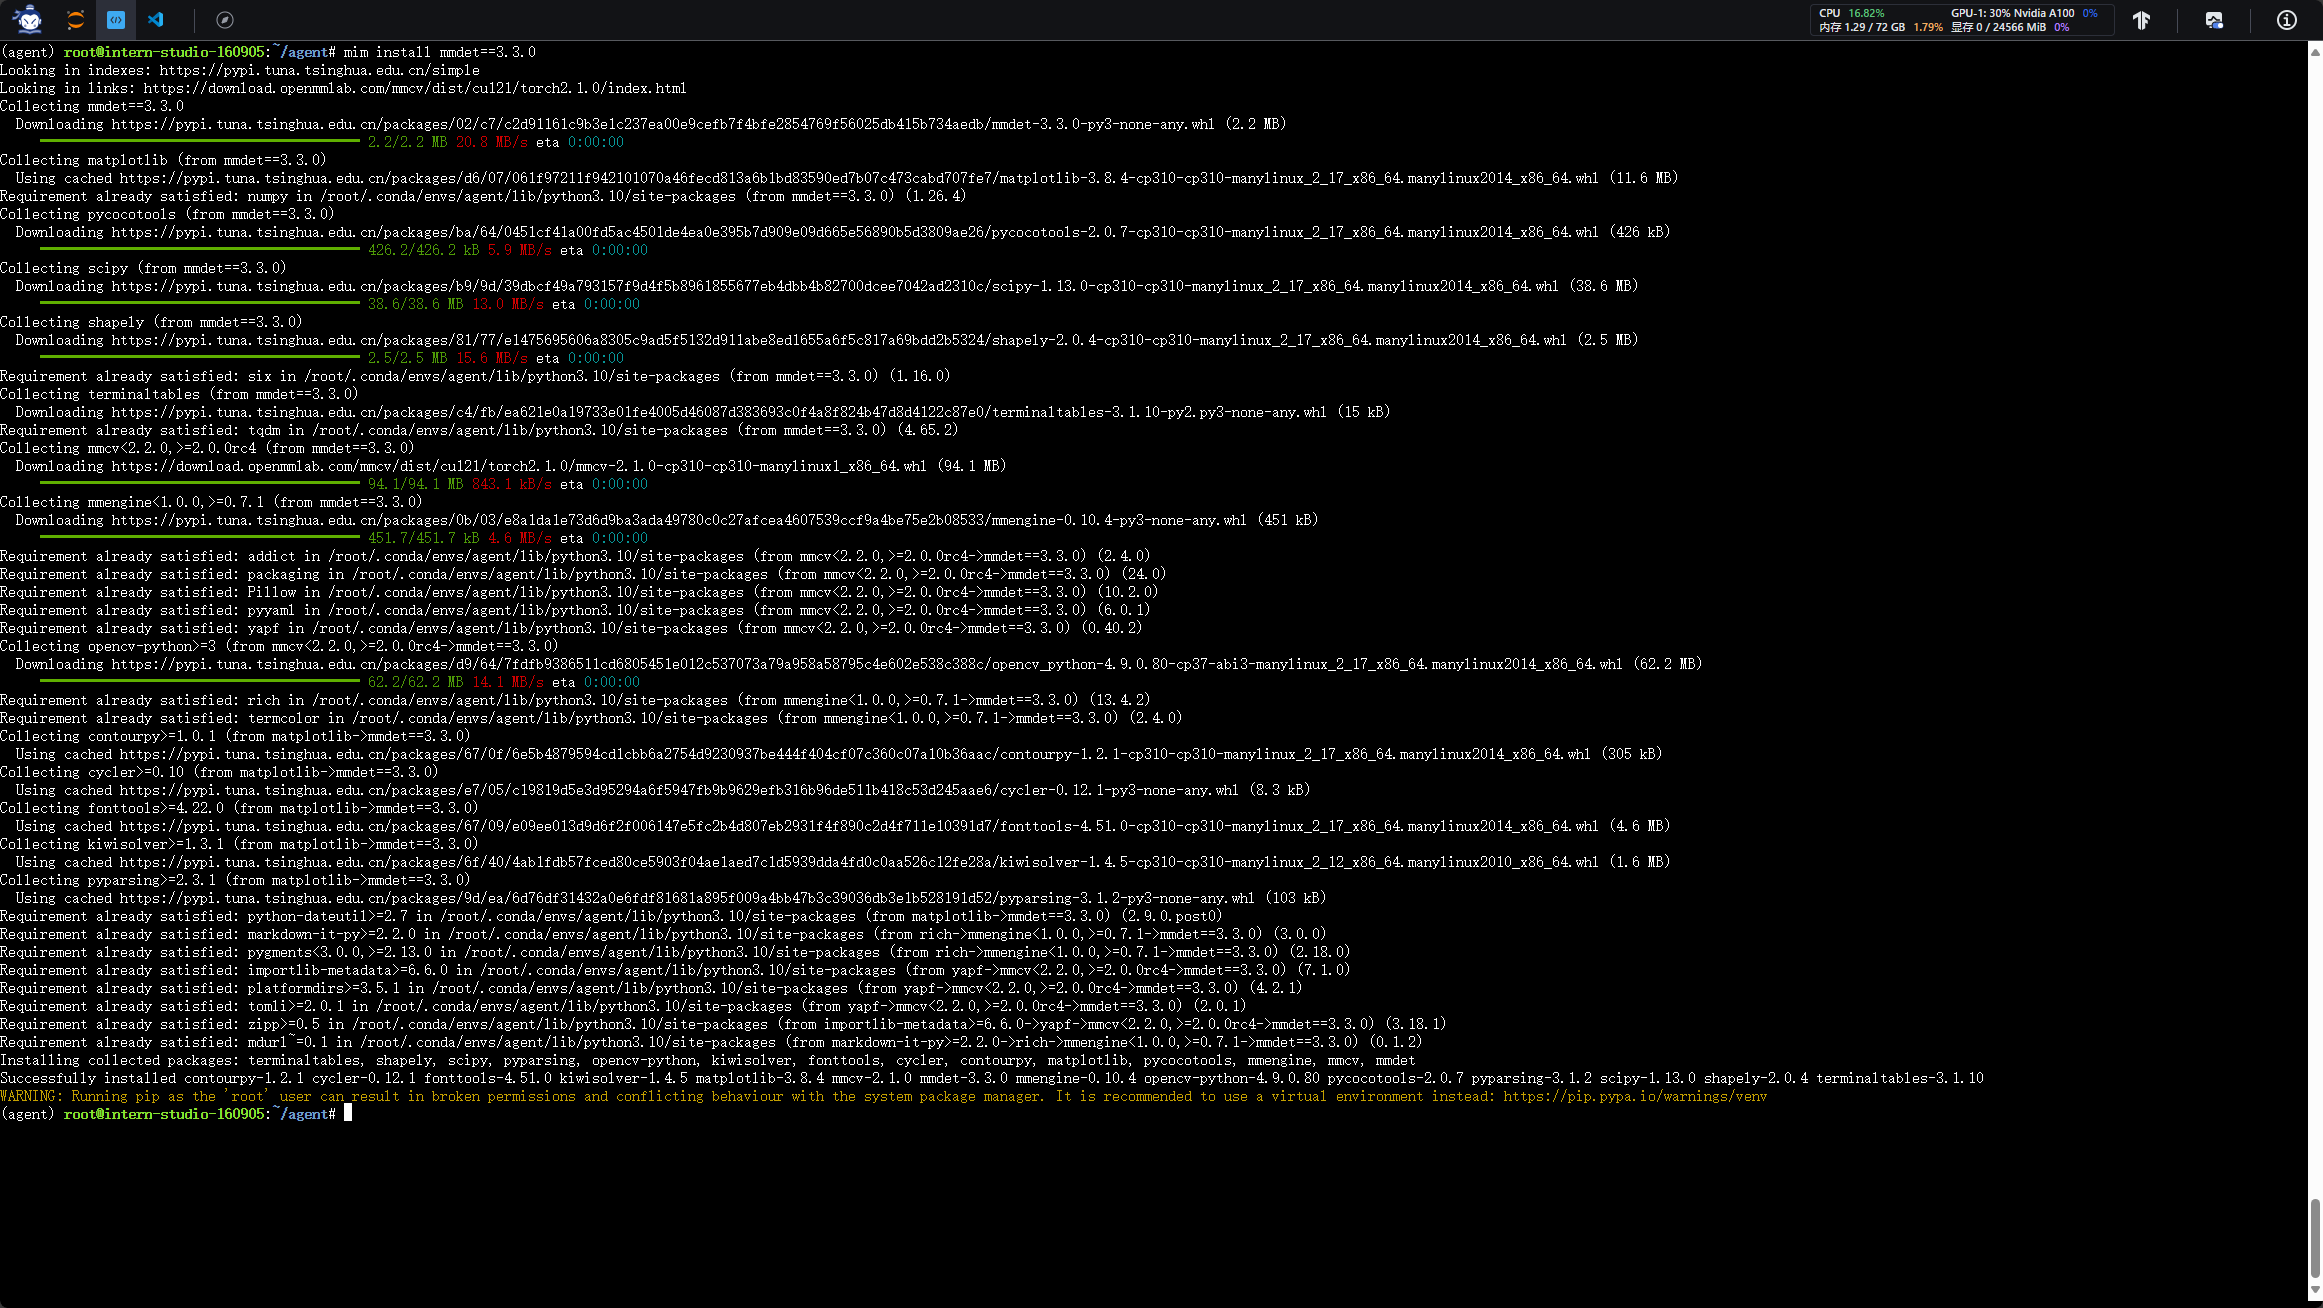
AgentLego 所实现的目标检测工具是基于 mmdet (MMDetection) 算法库中的 RTMDet-Large 模型,因此我们首先安装 mim,然后通过 mim 工具来安装 mmdet。
conda activate agent
pip install openmim==0.3.9
mim install mmdet==3.3.0
2.3.3 代码检测
通过 touch /root/agent/direct_use.py(大小写敏感)的方式在 /root/agent 目录下新建 direct_use.py 以直接使用目标检测工具。
touch /root/agent/direct_use.py
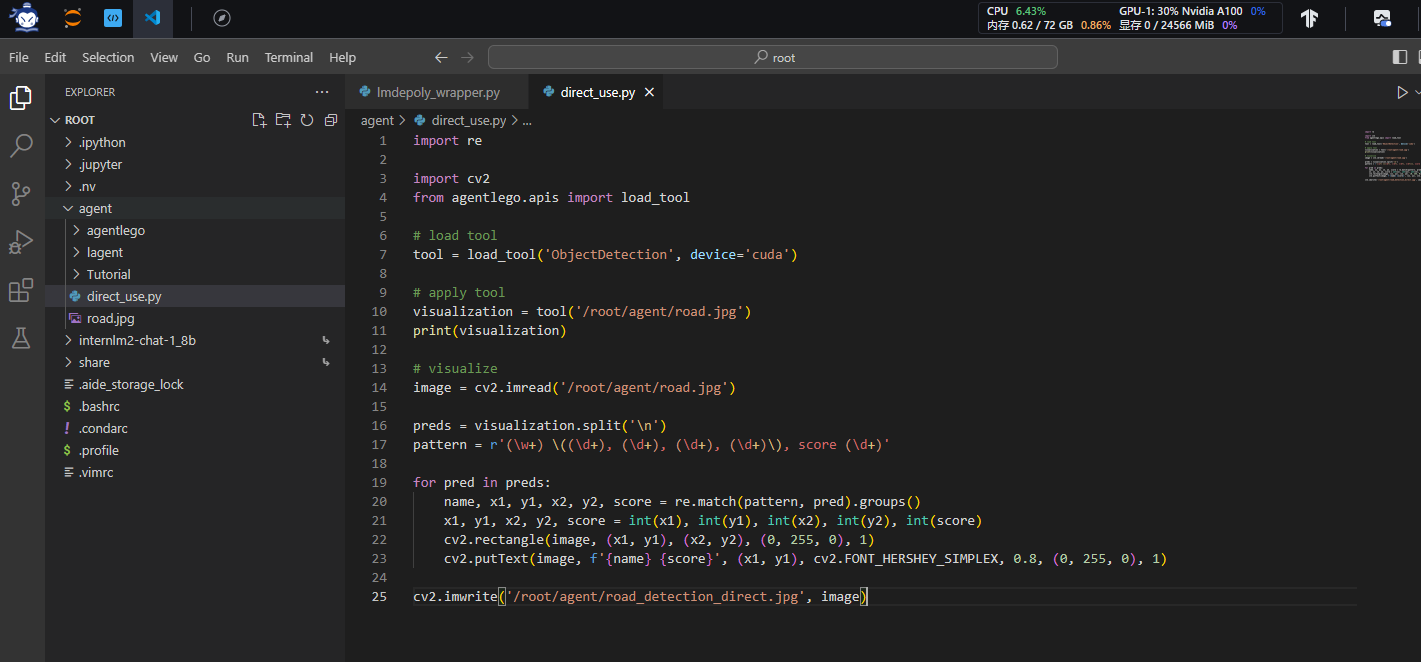
direct_use.py 的代码如下:
| import re
import cv2
from agentlego.apis import load_tool
# load tool
tool = load_tool('ObjectDetection', device='cuda')
# apply tool
visualization = tool('/root/agent/road.jpg')
print(visualization)
# visualize
image = cv2.imread('/root/agent/road.jpg')
preds = visualization.split('\n')
pattern = r'(\w+) \((\d+), (\d+), (\d+), (\d+)\), score (\d+)'
for pred in preds:
name, x1, y1, x2, y2, score = re.match(pattern, pred).groups()
x1, y1, x2, y2, score = int(x1), int(y1), int(x2), int(y2), int(score)
cv2.rectangle(image, (x1, y1), (x2, y2), (0, 255, 0), 1)
cv2.putText(image, f'{name} {score}', (x1, y1), cv2.FONT_HERSHEY_SIMPLEX, 0.8, (0, 255, 0), 1)
cv2.imwrite('/root/agent/road_detection_direct.jpg', image)
|
python /root/agent/direct_use.py
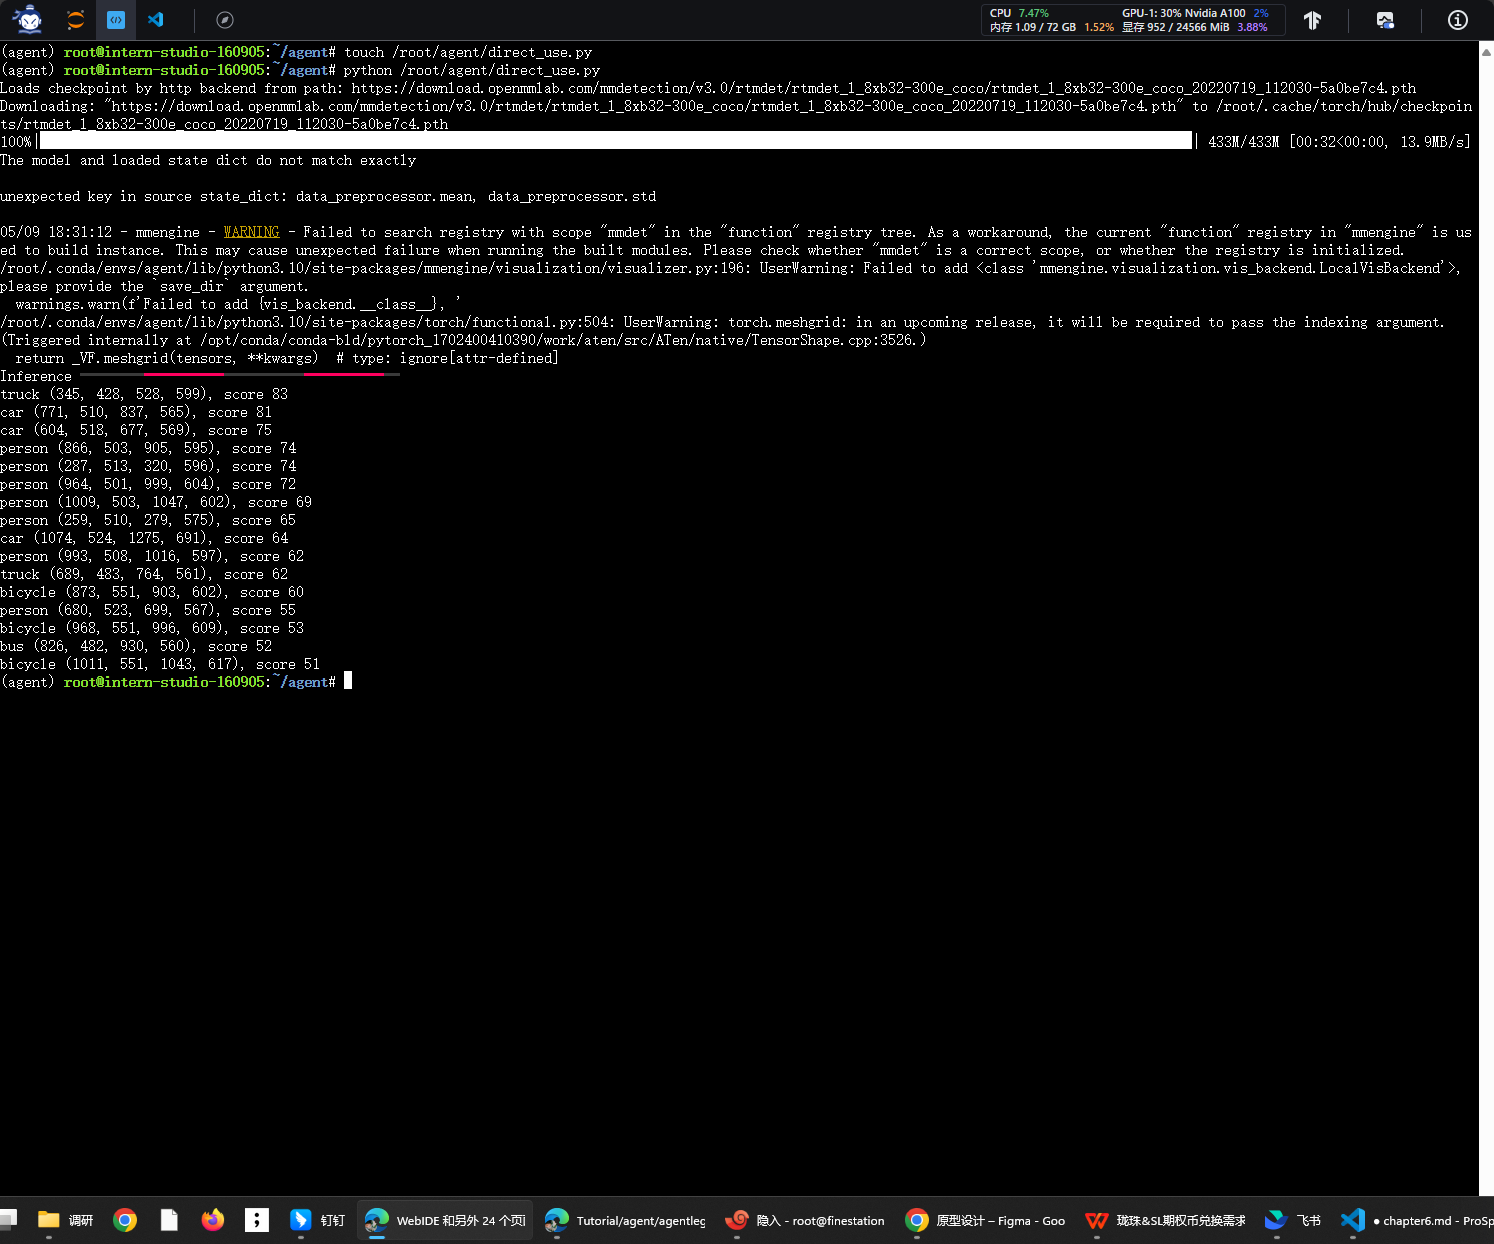
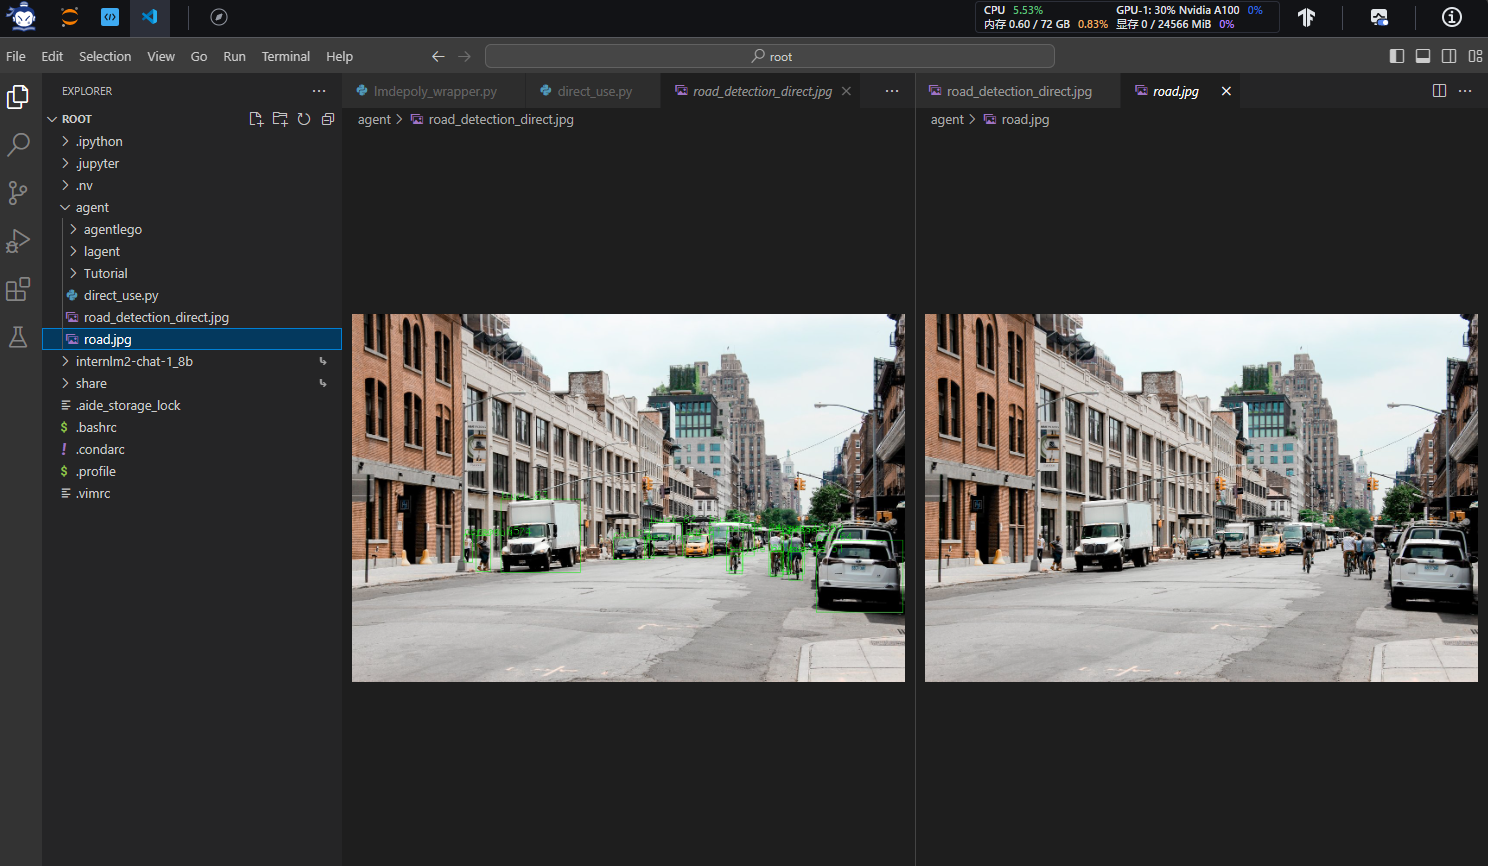
/root/agent 名为 road_detection_direct.jpg 的图片
2.4 AgentLego WebUI
文档地址
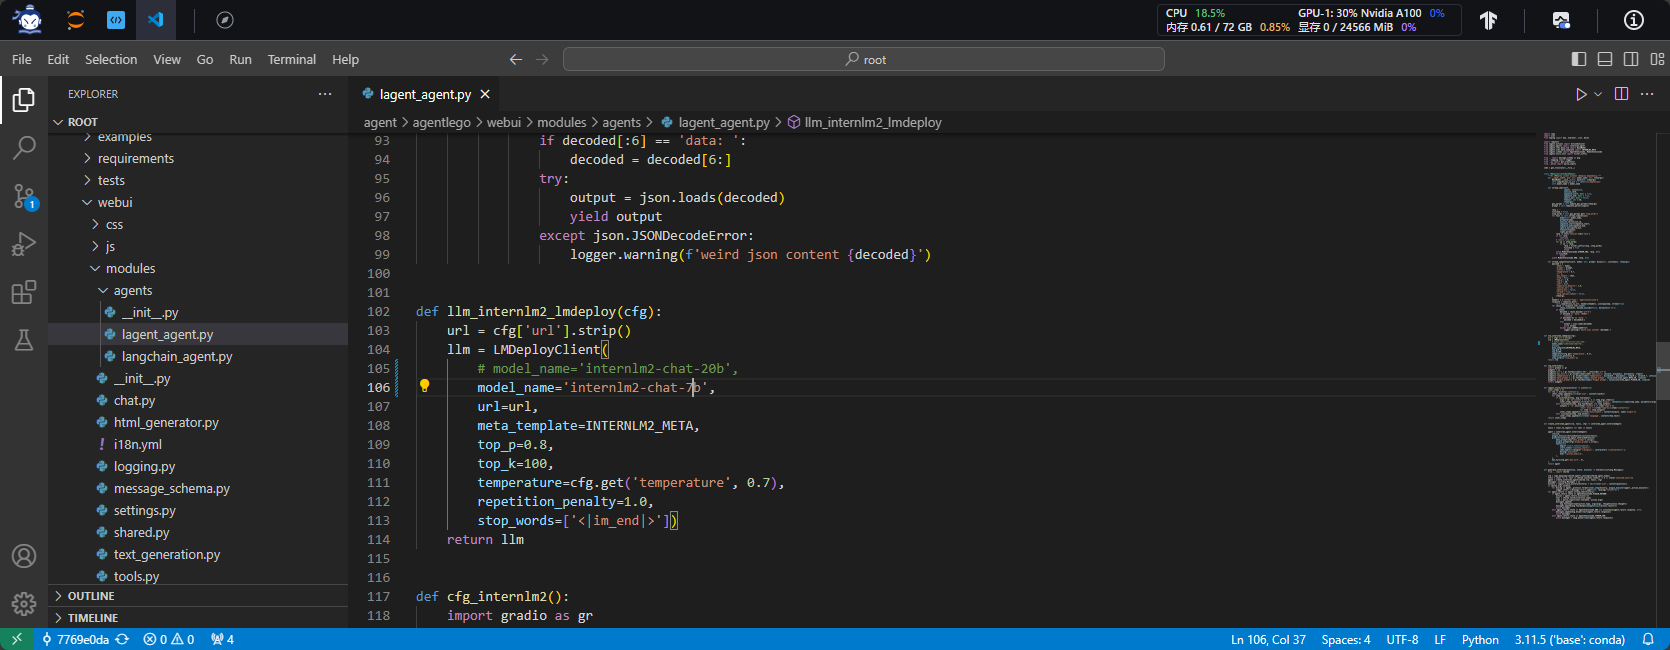
2.4.1 修改模型调用脚本
修改 /root/agent/agentlego/webui/modules/agents/lagent_agent.py 文件的第 105行位置,将 internlm2-chat-20b 修改为 internlm2-chat-7b
2.4.2 LMDeploy部署服务
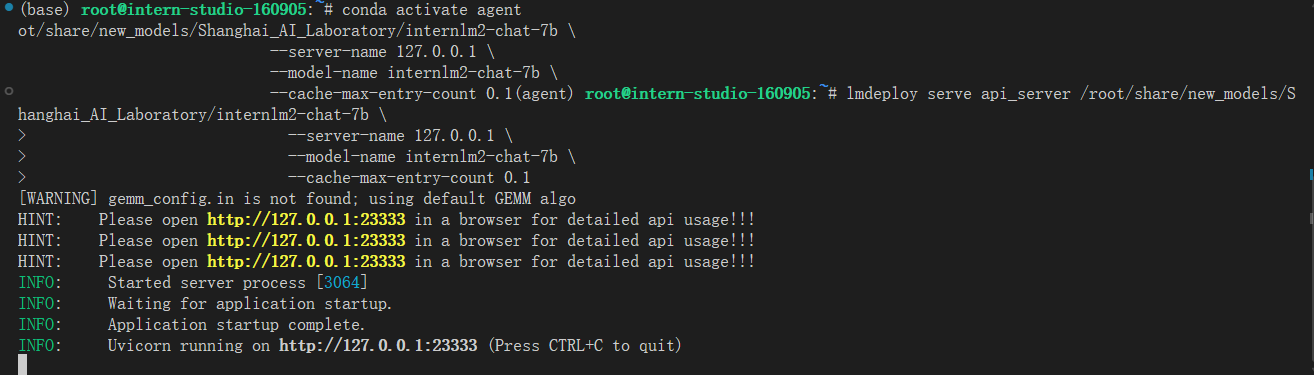
使用 LMDeploy 启动一个 api_server。
conda activate agent
lmdeploy serve api_server /root/share/new_models/Shanghai_AI_Laboratory/internlm2-chat-7b \
                            --server-name 127.0.0.1 \
                            --model-name internlm2-chat-7b \
                            --cache-max-entry-count 0.1
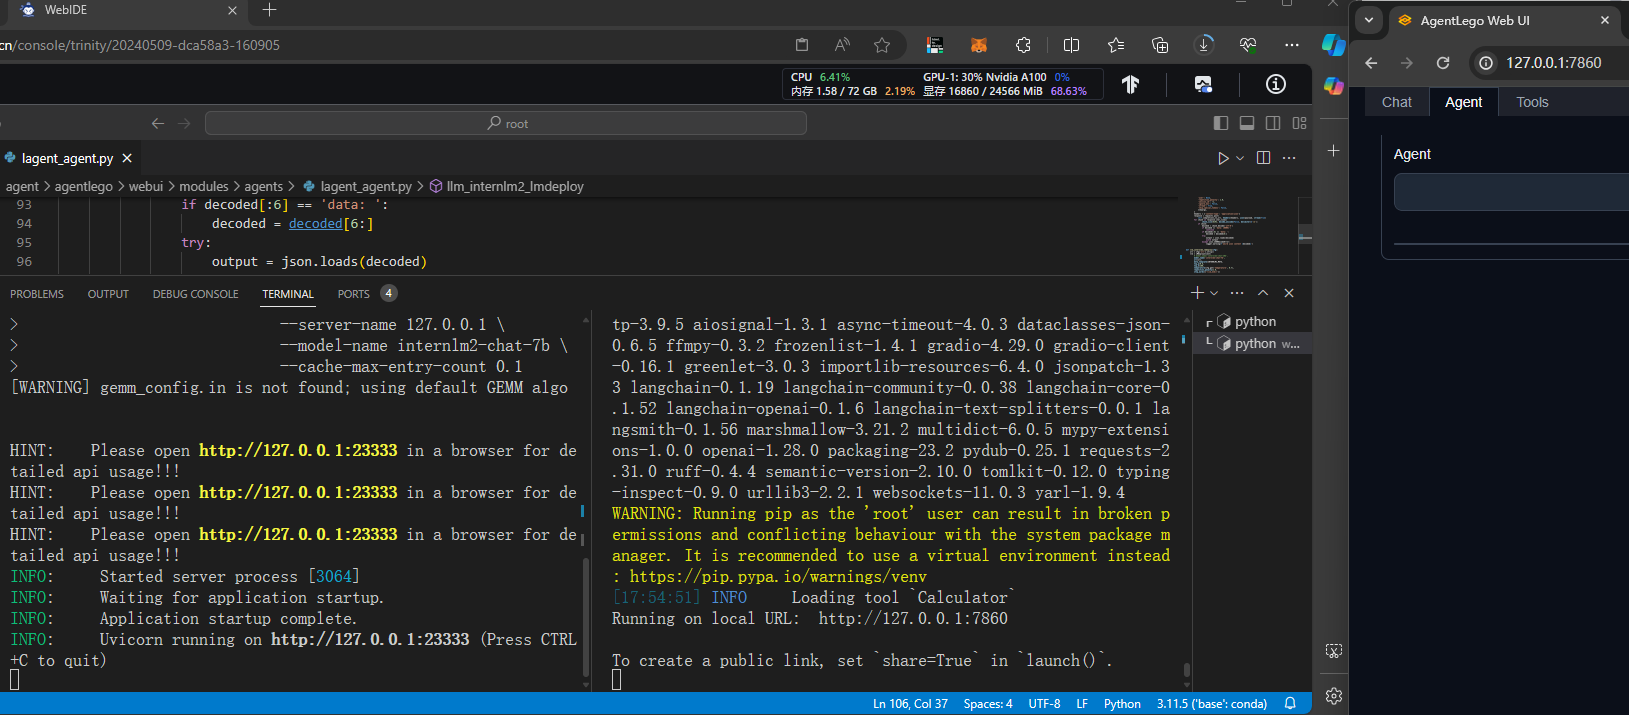
2.4.3 启动 AgentLego WebUI
新建一个 terminal 以启动 AgentLego WebUI
conda activate agent
cd /root/agent/agentlego/webui
python one_click.py
ssh -CNg -L 7860:127.0.0.1:7860 -L 23333:127.0.0.1:23333 root@ssh.intern-ai.org.cn -p 48061
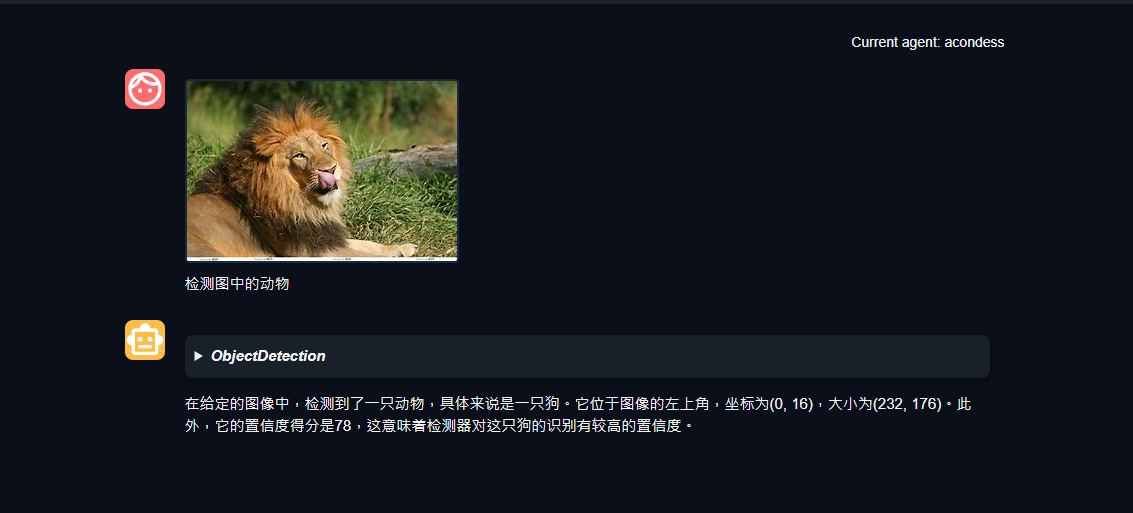
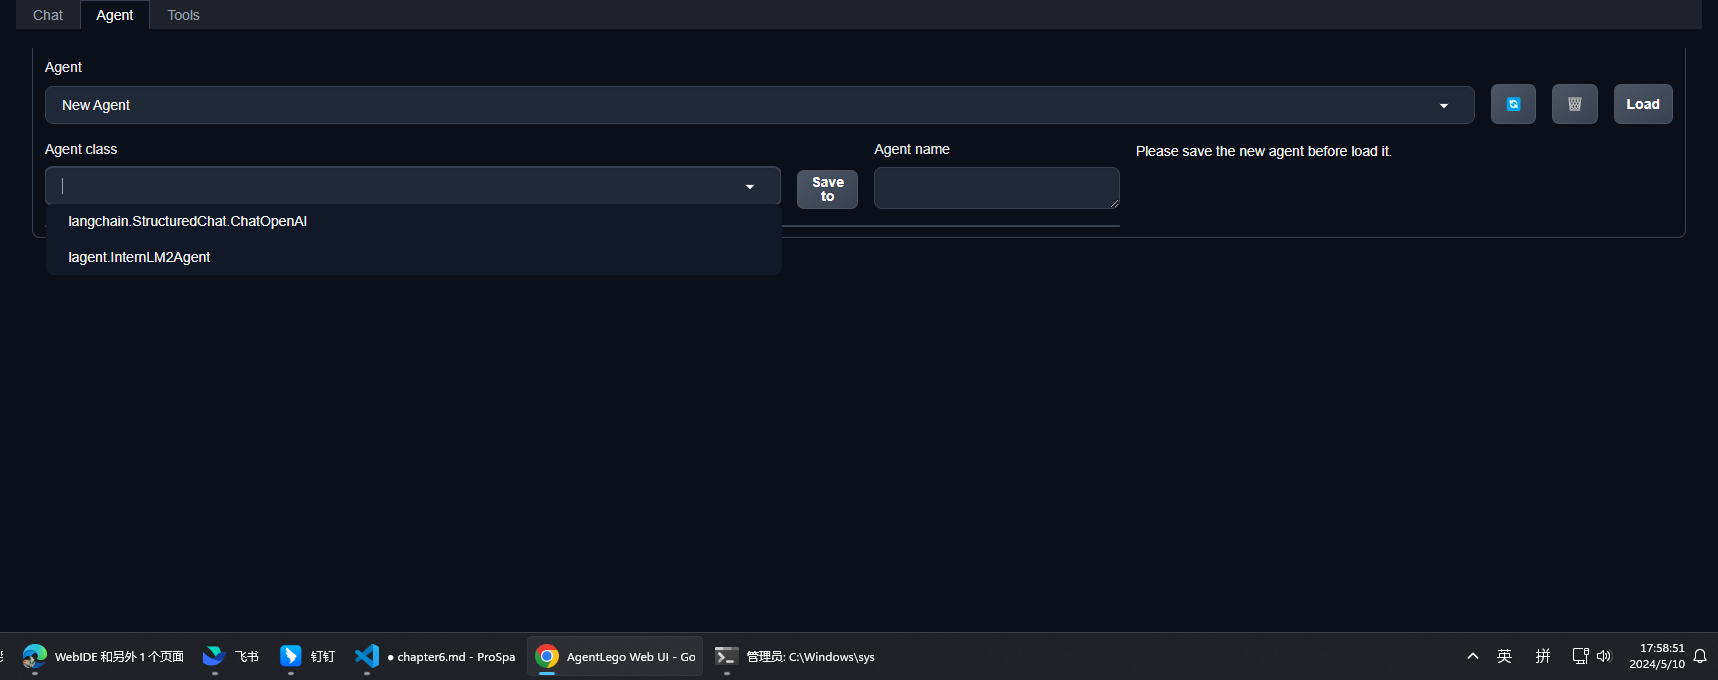
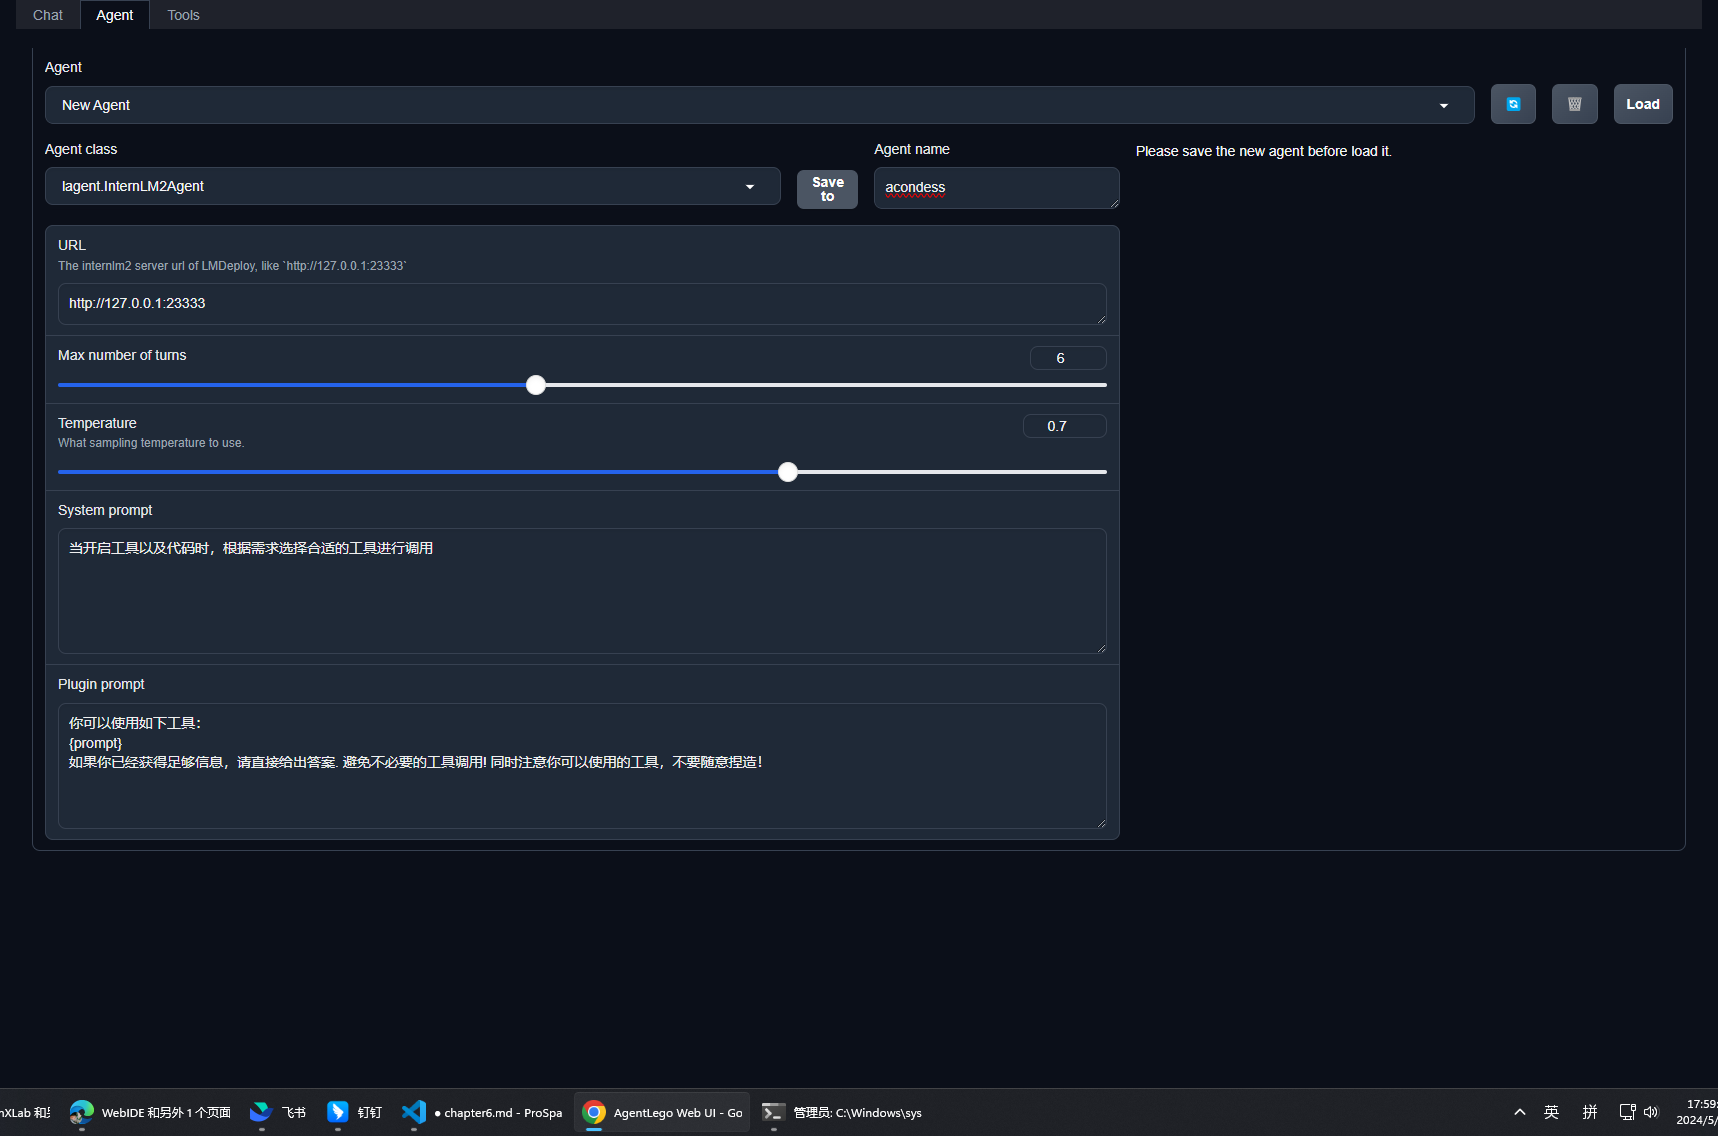
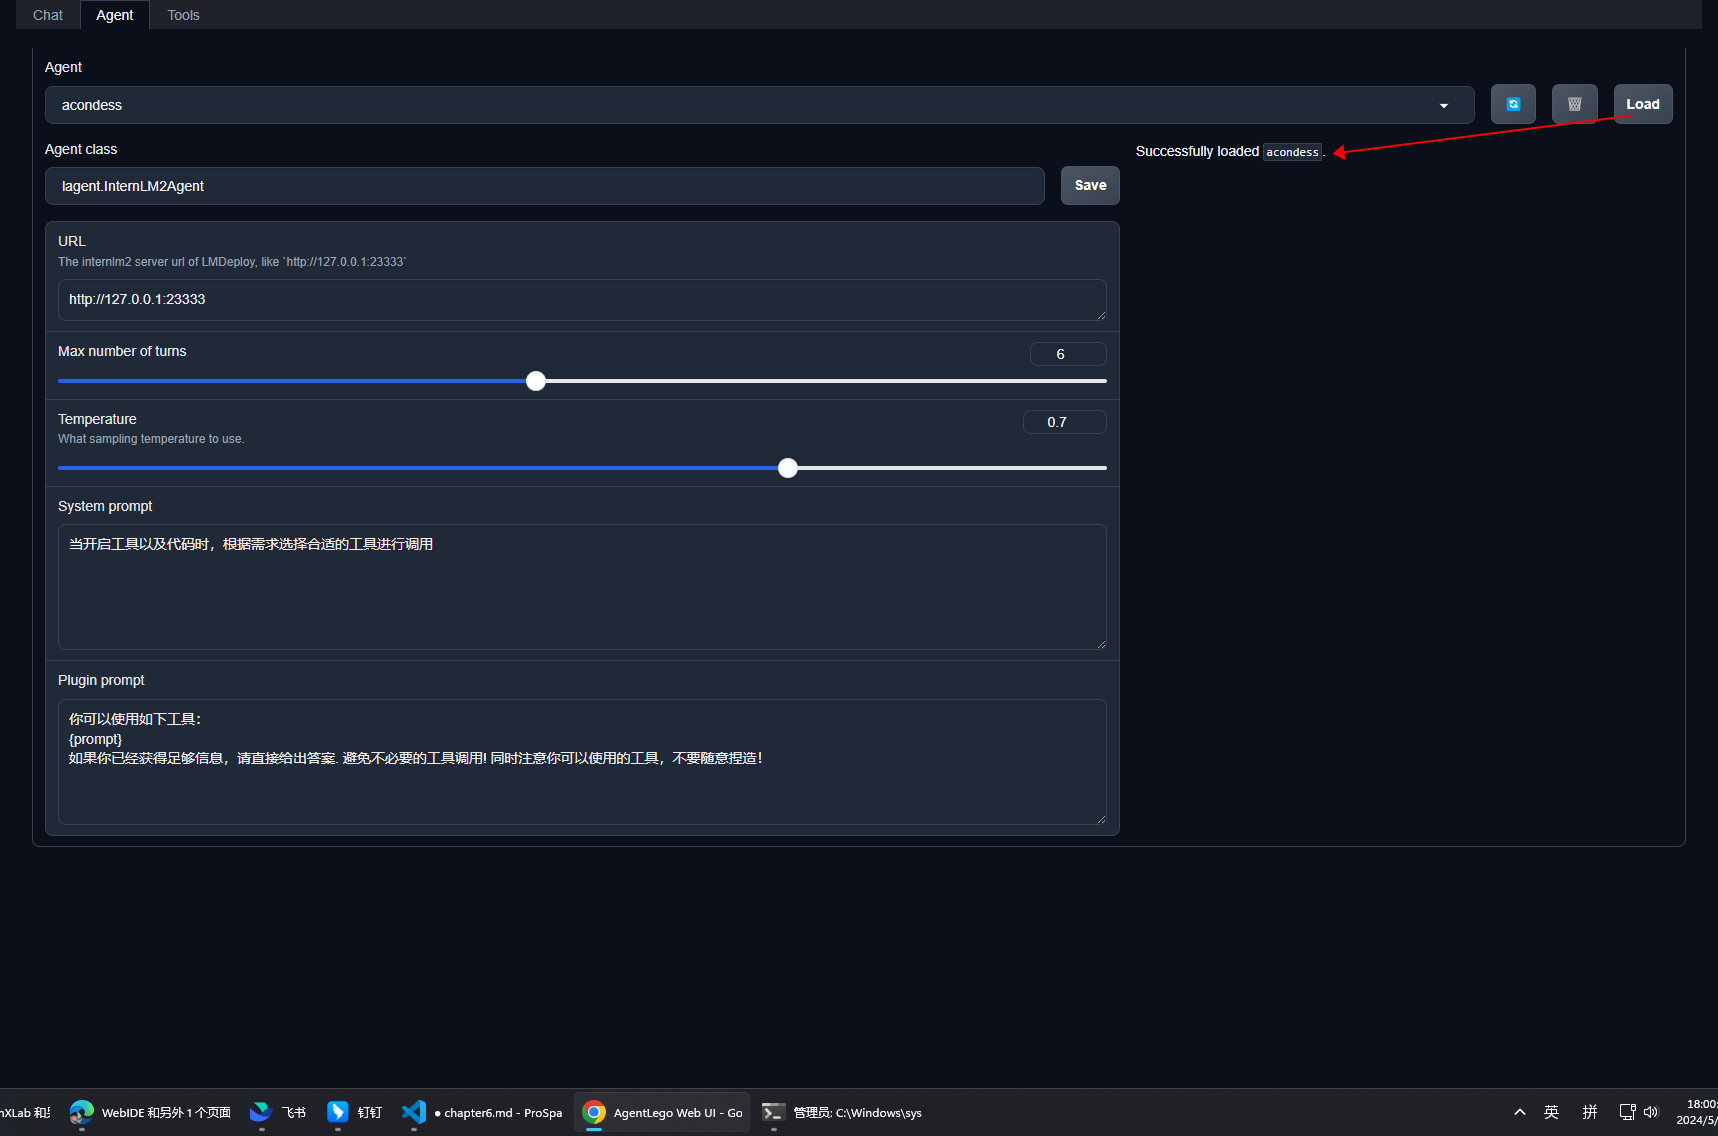
2.4.4 使用 AgentLego WebUI
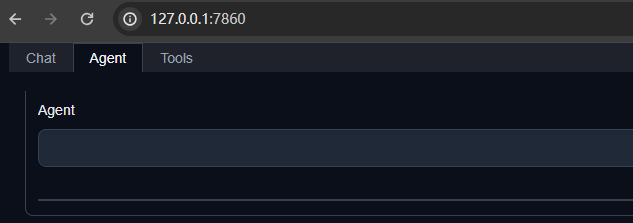
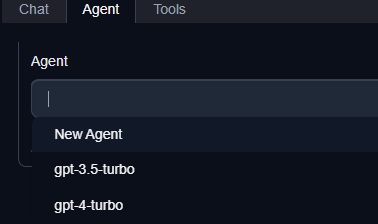
- 选择 Agent Class 为 lagent.InternLM2Agent
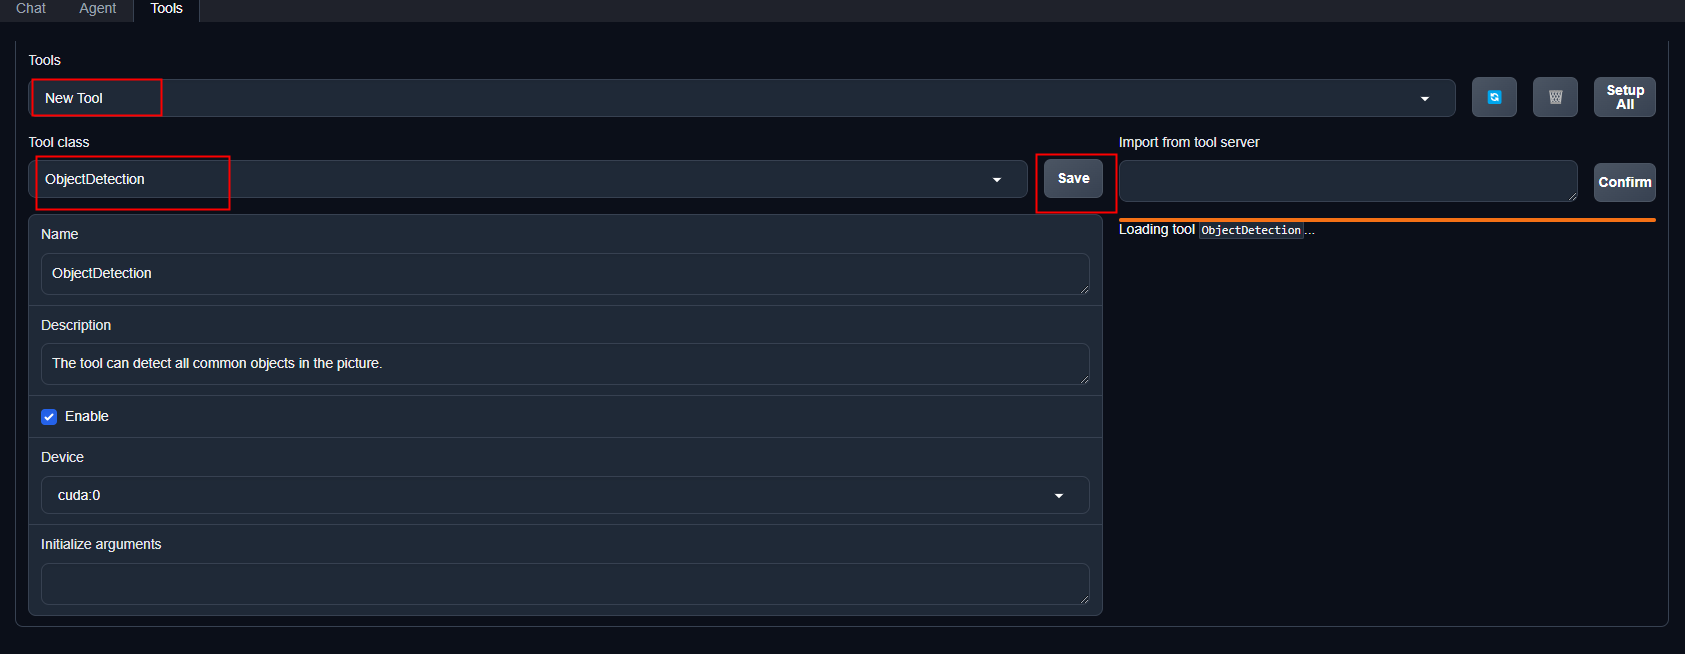
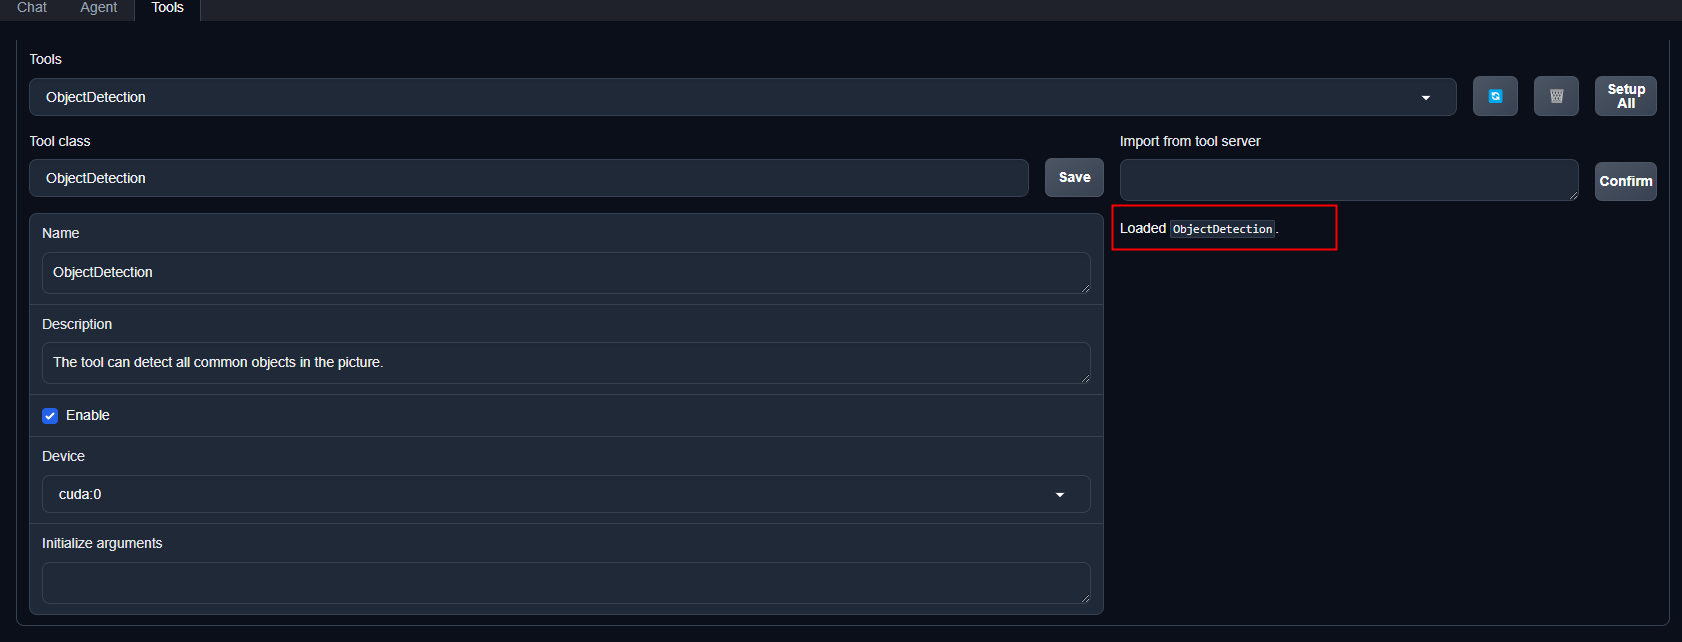
等待工具加载完成后,点击上方 Chat 以进入对话页面。在页面下方选择工具部分只选择 ObjectDetection 工具,如下图所示。为了确保调用工具的成功率,请在使用时确保仅有这一个工具启用。

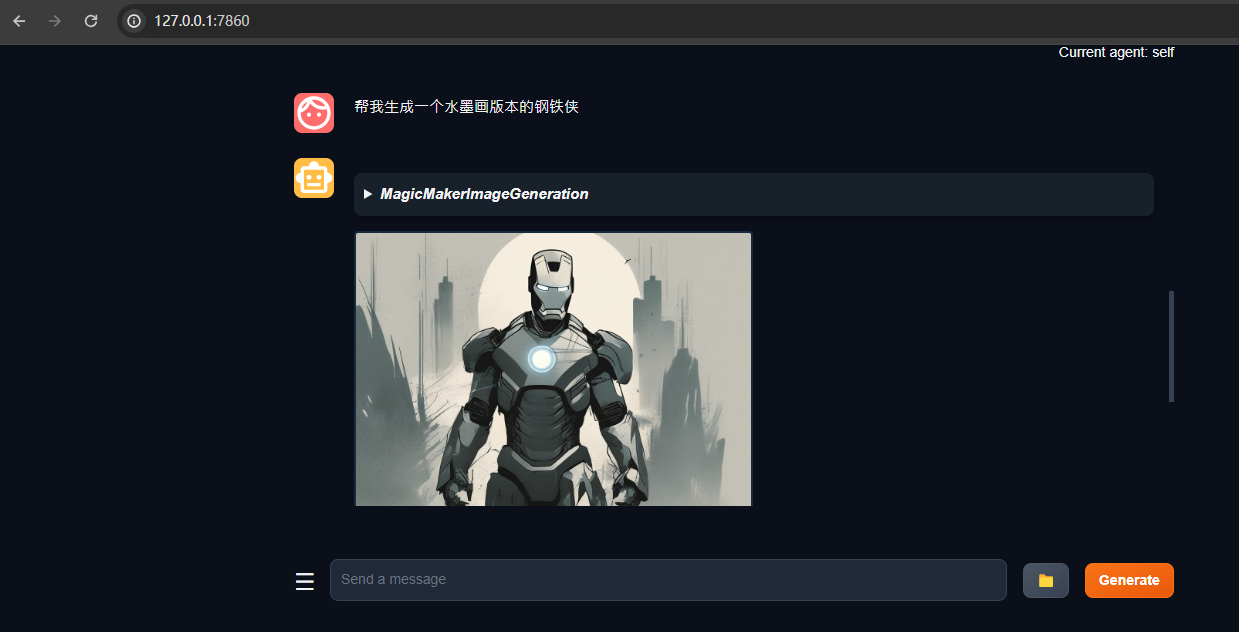
2.5 AgentLego 自定义工具
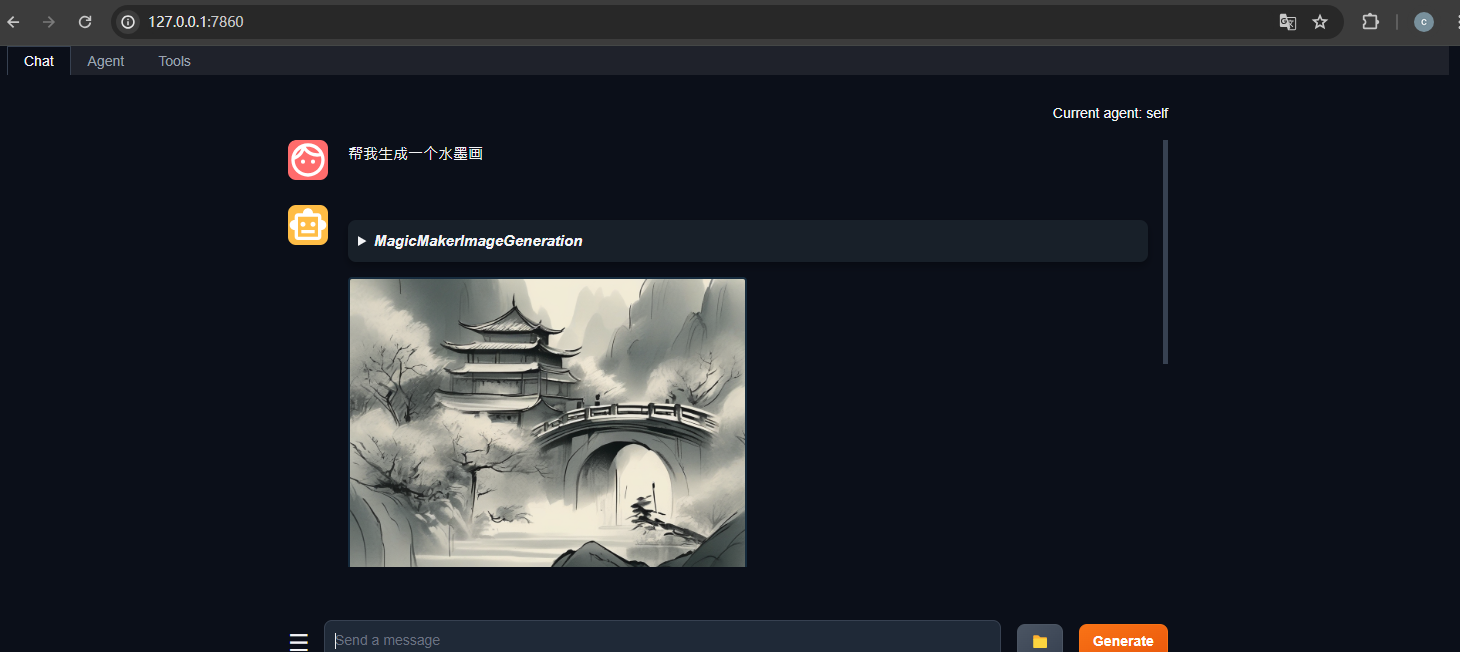
实现一个调用 MagicMaker 的 API 以实现图像生成的工具,提供图像生成、图像编辑和视频生成。
MagicMaker地址
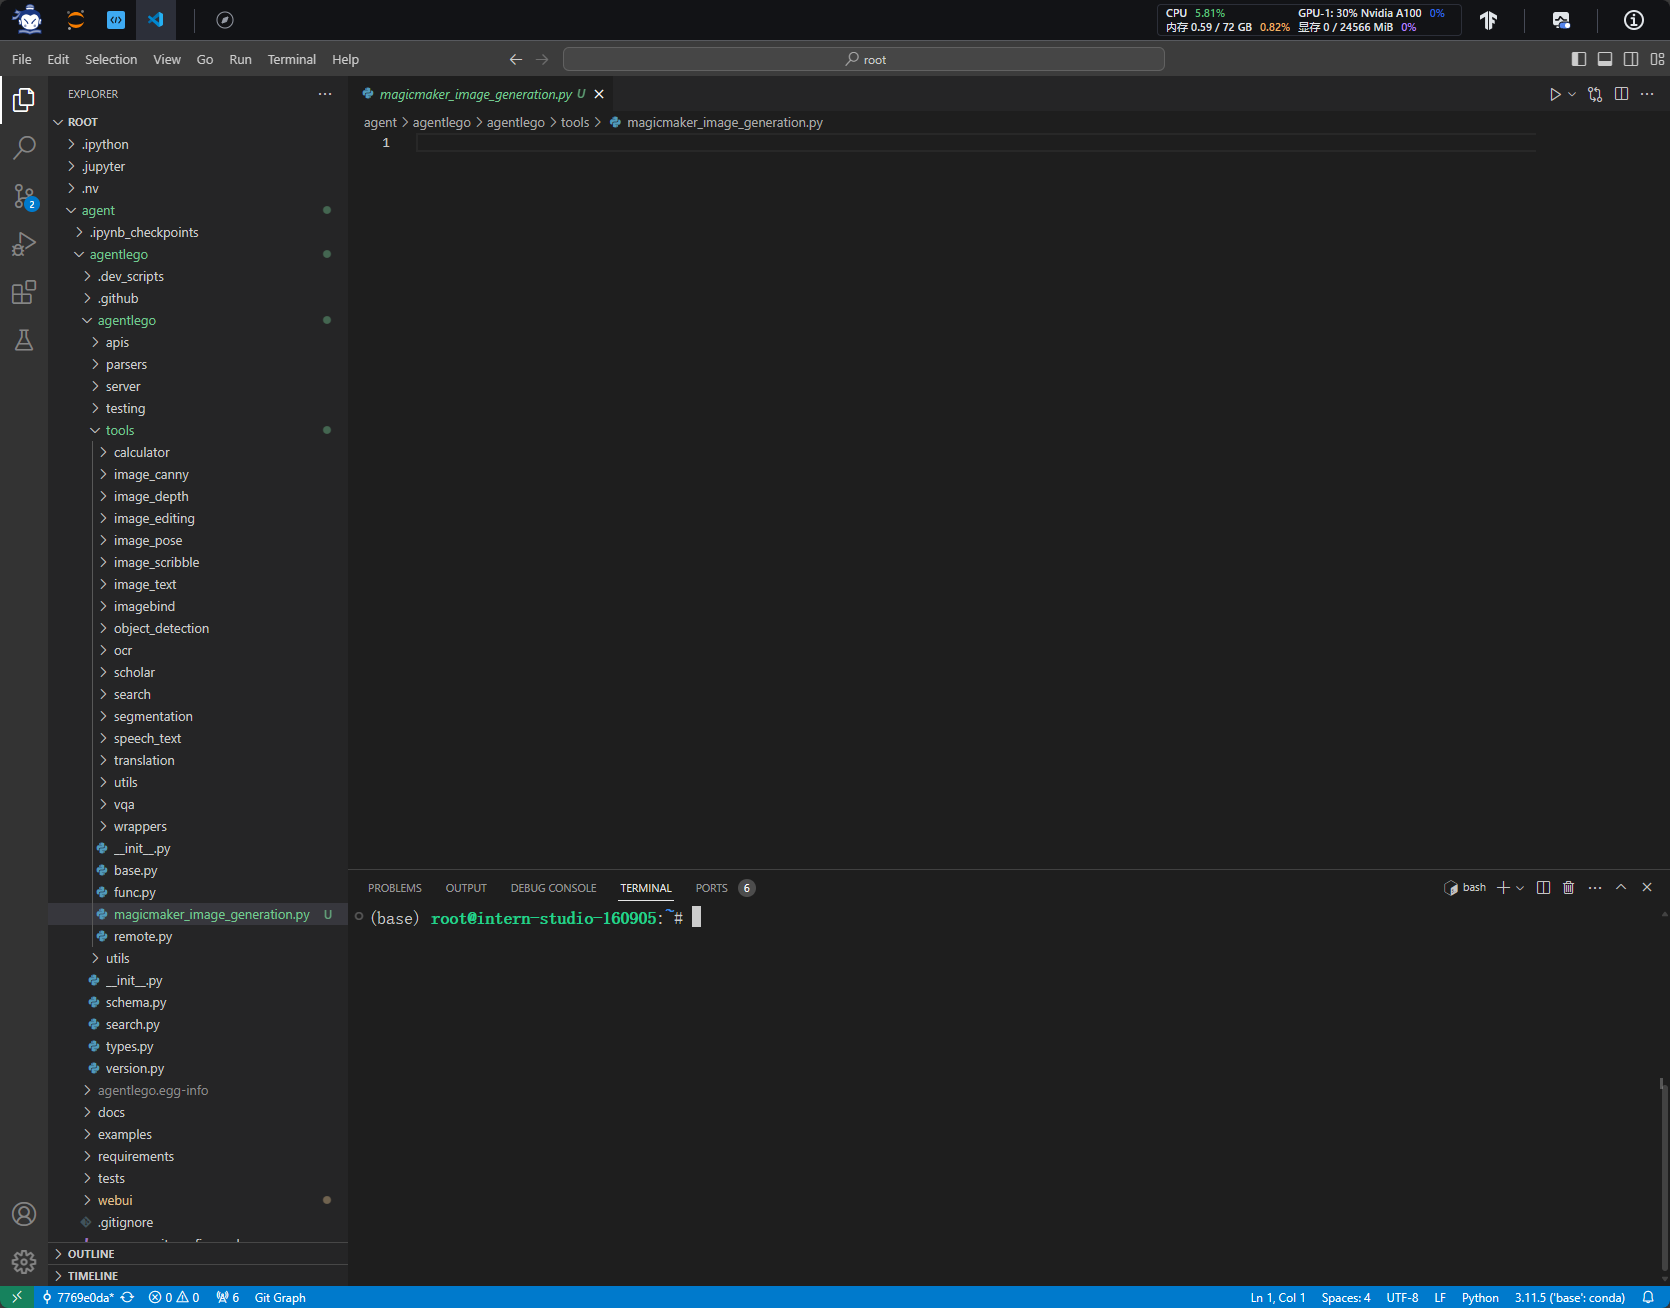
2.5.1 创建工具文件
touch /root/agent/agentlego/agentlego/tools/magicmaker_image_generation.py
| import json
import requests
import numpy as np
from agentlego.types import Annotated, ImageIO, Info
from agentlego.utils import require
from .base import BaseTool
class MagicMakerImageGeneration(BaseTool):
default_desc = ('This tool can call the api of magicmaker to '
'generate an image according to the given keywords.')
styles_option = [
'dongman', # 动漫
'guofeng', # 国风
'xieshi', # 写实
'youhua', # 油画
'manghe', # 盲盒
]
aspect_ratio_options = [
'16:9', '4:3', '3:2', '1:1',
'2:3', '3:4', '9:16'
]
@require('opencv-python')
def __init__(self,
style='guofeng',
aspect_ratio='4:3'):
super().__init__()
if style in self.styles_option:
self.style = style
else:
raise ValueError(f'The style must be one of {self.styles_option}')
if aspect_ratio in self.aspect_ratio_options:
self.aspect_ratio = aspect_ratio
else:
raise ValueError(f'The aspect ratio must be one of {aspect_ratio}')
def apply(self,
keywords: Annotated[str,
Info('A series of Chinese keywords separated by comma.')]
) -> ImageIO:
import cv2
response = requests.post(
url='https://magicmaker.openxlab.org.cn/gw/edit-anything/api/v1/bff/sd/generate',
data=json.dumps({
"official": True,
"prompt": keywords,
"style": self.style,
"poseT": False,
"aspectRatio": self.aspect_ratio
}),
headers={'content-type': 'application/json'}
)
image_url = response.json()['data']['imgUrl']
image_response = requests.get(image_url)
image = cv2.cvtColor(cv2.imdecode(np.frombuffer(image_response.content, np.uint8), cv2.IMREAD_COLOR),cv2.COLOR_BGR2RGB)
return ImageIO(image)
|
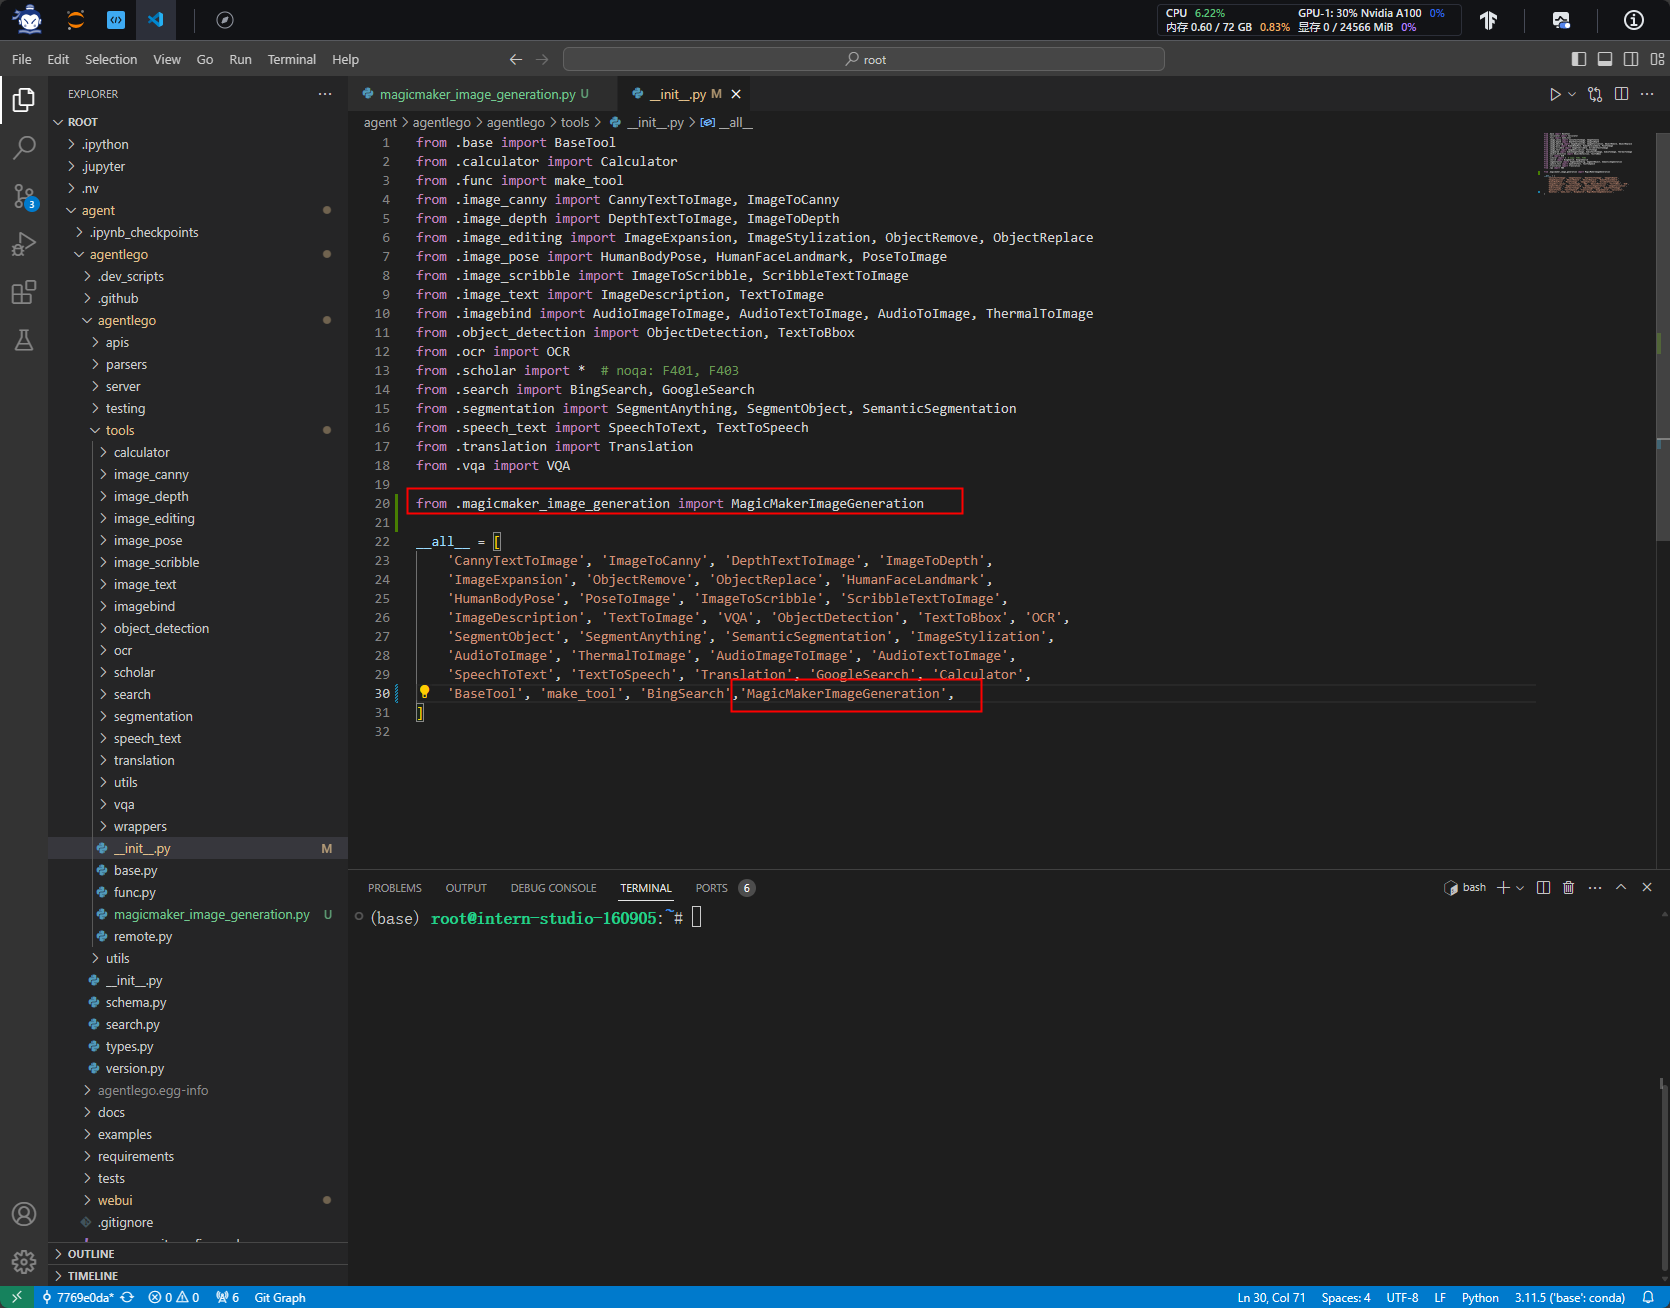
2.5.2 注册新工具
修改 /root/agent/agentlego/agentlego/tools/init.py 文件,将我们的工具注册在工具列表中。
将 MagicMakerImageGeneration 通过 from .magicmaker_image_generation import MagicMakerImageGeneration 导入到了文件中,并且将其加入了 all 列表中。
| from .base import BaseTool
from .calculator import Calculator
from .func import make_tool
from .image_canny import CannyTextToImage, ImageToCanny
from .image_depth import DepthTextToImage, ImageToDepth
from .image_editing import ImageExpansion, ImageStylization, ObjectRemove, ObjectReplace
from .image_pose import HumanBodyPose, HumanFaceLandmark, PoseToImage
from .image_scribble import ImageToScribble, ScribbleTextToImage
from .image_text import ImageDescription, TextToImage
from .imagebind import AudioImageToImage, AudioTextToImage, AudioToImage, ThermalToImage
from .object_detection import ObjectDetection, TextToBbox
from .ocr import OCR
from .scholar import * # noqa: F401, F403
from .search import BingSearch, GoogleSearch
from .segmentation import SegmentAnything, SegmentObject, SemanticSegmentation
from .speech_text import SpeechToText, TextToSpeech
from .translation import Translation
from .vqa import VQA
from .magicmaker_image_generation import MagicMakerImageGeneration
__all__ = [
'CannyTextToImage', 'ImageToCanny', 'DepthTextToImage', 'ImageToDepth',
'ImageExpansion', 'ObjectRemove', 'ObjectReplace', 'HumanFaceLandmark',
'HumanBodyPose', 'PoseToImage', 'ImageToScribble', 'ScribbleTextToImage',
'ImageDescription', 'TextToImage', 'VQA', 'ObjectDetection', 'TextToBbox', 'OCR',
'SegmentObject', 'SegmentAnything', 'SemanticSegmentation', 'ImageStylization',
'AudioToImage', 'ThermalToImage', 'AudioImageToImage', 'AudioTextToImage',
'SpeechToText', 'TextToSpeech', 'Translation', 'GoogleSearch', 'Calculator',
'BaseTool', 'make_tool', 'BingSearch','MagicMakerImageGeneration',
]
|
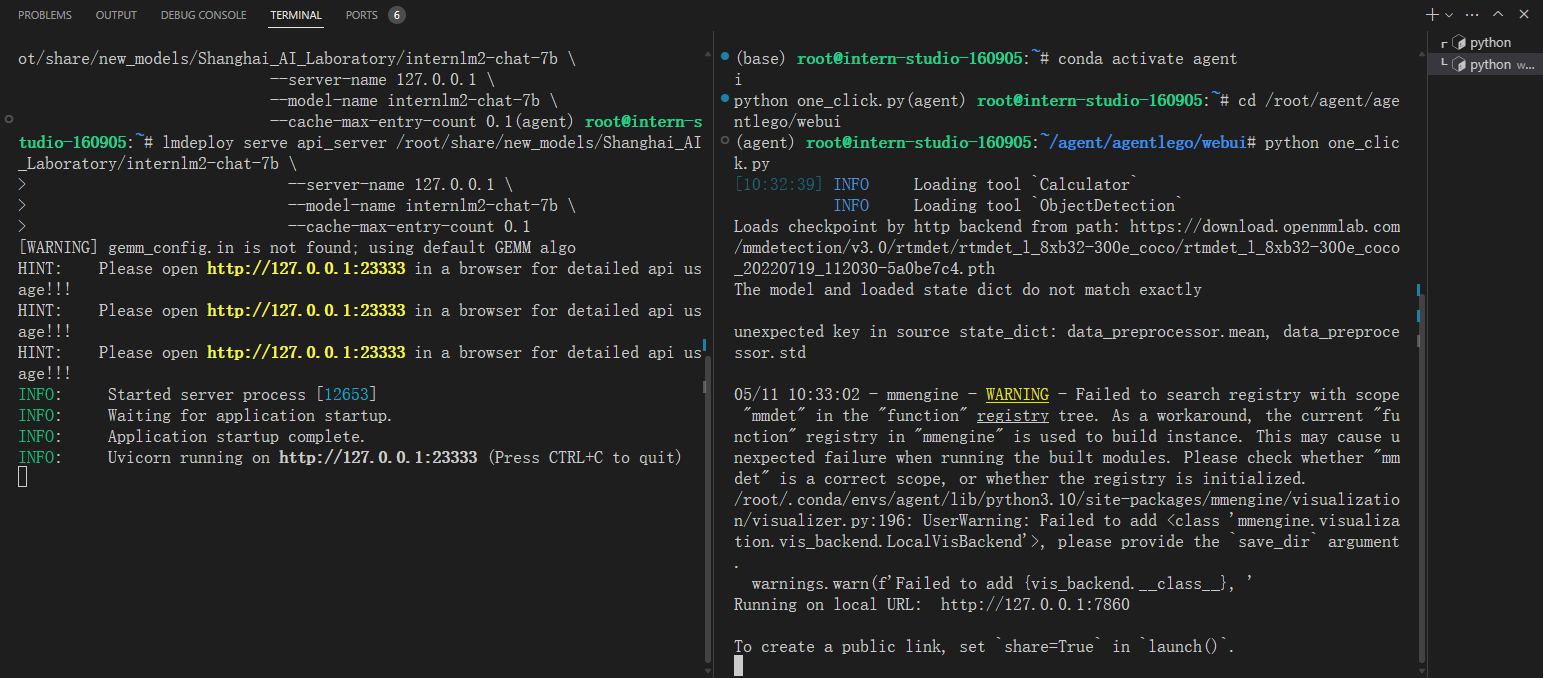
2.5.3 启动自定义工具
在两个 terminal 中分别启动 LMDeploy 服务和 AgentLego 的 WebUI 以体验我们自定义的工具的效果。
conda activate agent
lmdeploy serve api_server /root/share/new_models/Shanghai_AI_Laboratory/internlm2-chat-7b \
                            --server-name 127.0.0.1 \
                            --model-name internlm2-chat-7b \
                            --cache-max-entry-count 0.1
conda activate agent
cd /root/agent/agentlego/webui
python one_click.py
ssh -CNg -L 7860:127.0.0.1:7860 -L 23333:127.0.0.1:23333 root@ssh.intern-ai.org.cn -p 48061
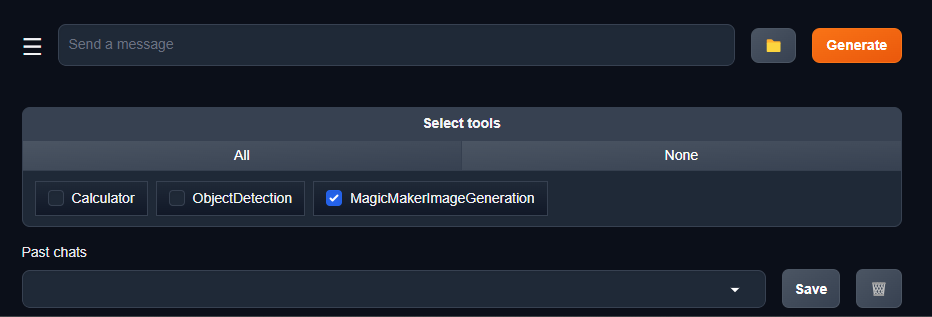
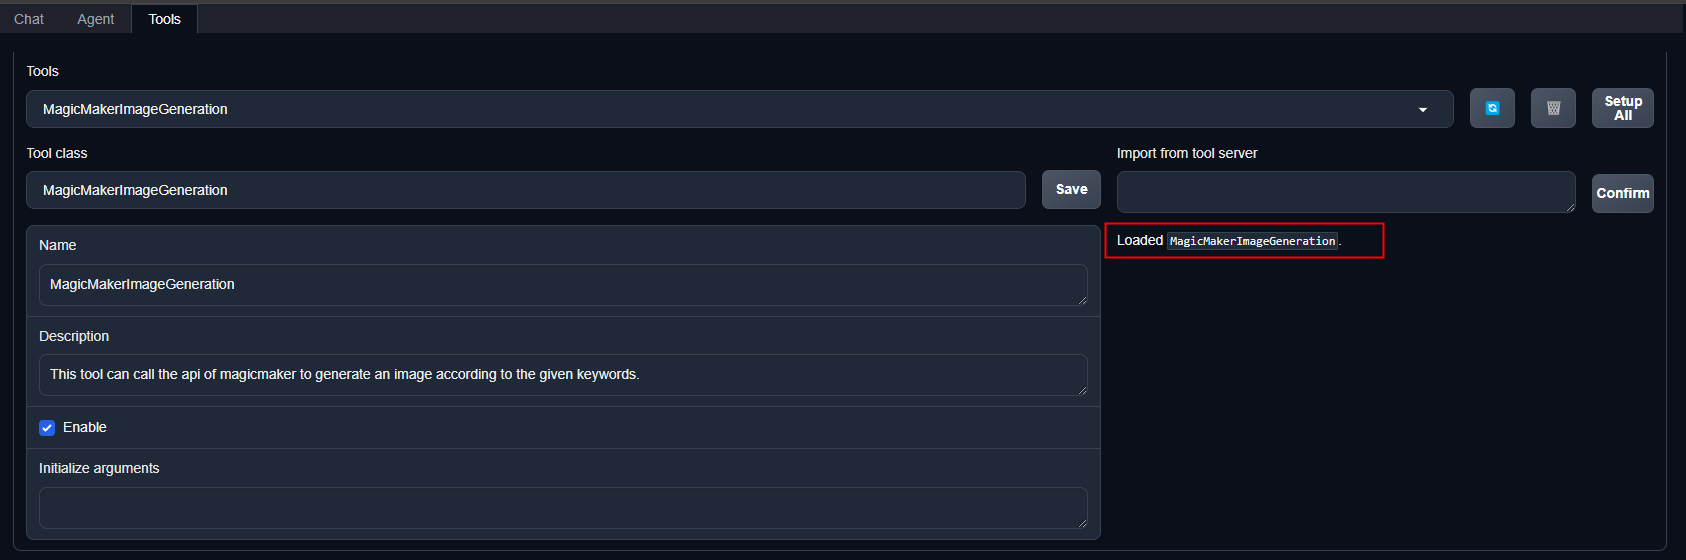
Tool class 选择MagicMakerImageGeneration并点击save
2.5.4 应用结果